Your cart is empty.
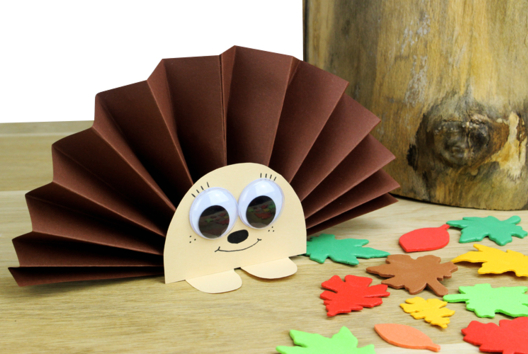
Hedgehog with a Paper Bag

Hedgehog with a Paper Bag
Discover an autumn-themed activity to do with children.
In this easy craft, we will show you how to simply make a cute hedgehog using a paper bag and some sheets of paper.
Collaging and cutting are on the agenda for this simple activity suitable for children from the age of 3.
How to complete this tutorial step by step?
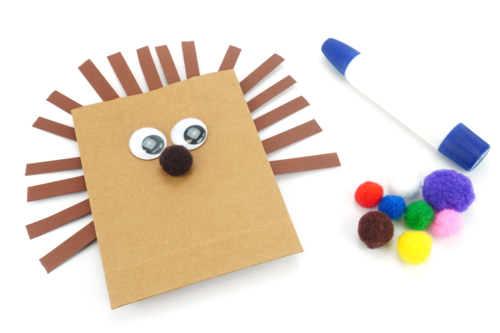
Materials
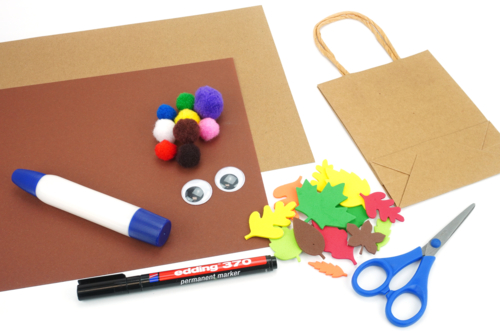
To make a hedgehog, you will need:
- a small kraft paper bag
- a sturdy brown card
- a sheet of kraft paper
- 2 googly eyes Ø 2.5 cm
- a pom-pom
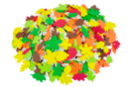
- rubber tree leaves
- a tube of glue
- a pair of scissors
- a black marker
Step 1
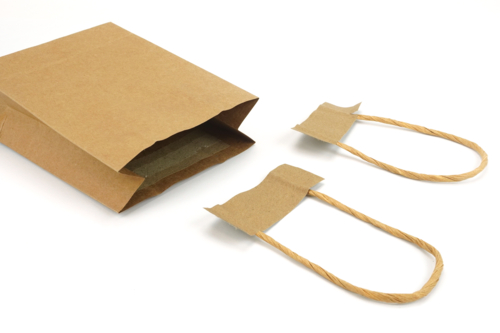
Remove the handles from the paper bag.
Step 2
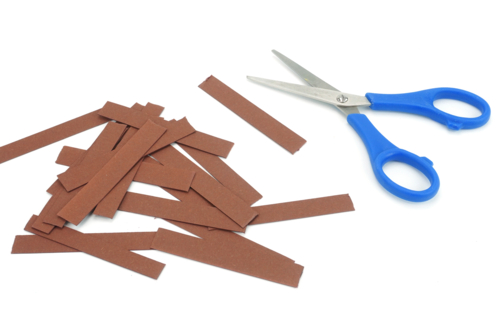
Cut out about 20 strips of paper (1 cm x 7 cm) from a sturdy brown card.
Step 3
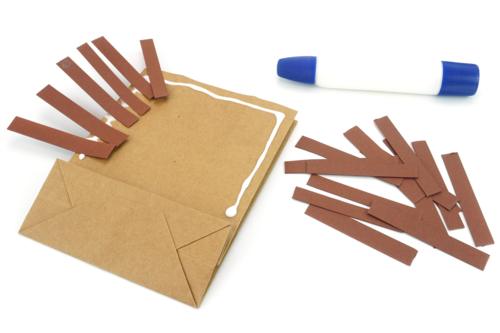
Apply glue around the edge of the bag and then place the paper strips to create the hedgehog spines.
Step 4
Turn the bag inside out and stick on 2 googly eyes and a pom-pom to make the hedgehog's nose.
Step 5
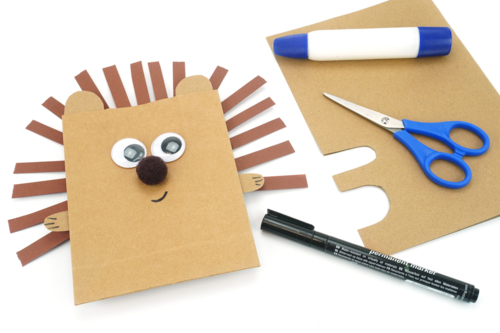
Cut out 2 ears and 2 legs from a sheet of kraft paper and glue them onto the paper bag.
Draw a little smile with a black marker.
Step 6
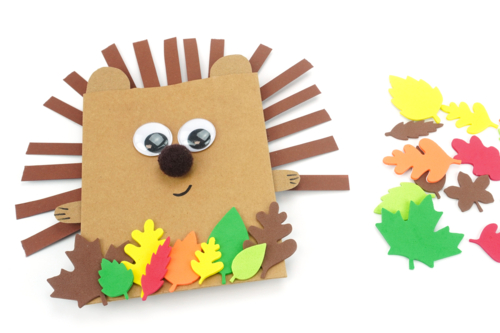
Glue rubber tree leaves to the bottom of the bag to create a lovely autumn decoration.
The products used:
The products used:

2,99€ (either 0,50 € / pc)
Available

3,59€ (either 0,36 € / pc)
Available

1,79€ (either 0,18 € / pc)
Available

1,99€
Available


Other tutorials on the theme "Autumn Tutorials"
-
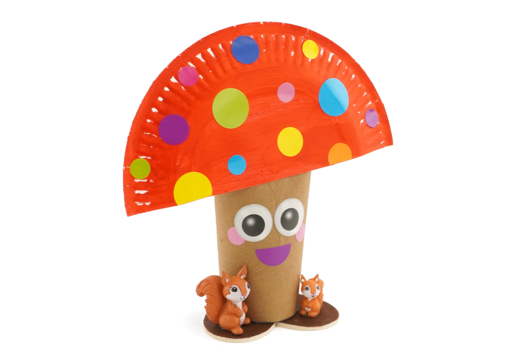
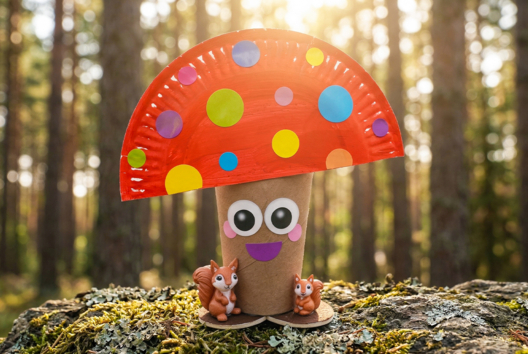
Funny Mushroom and Little Squirrels
C17711View 665 time


-
Mouse Pad
C11083View 448 time


-
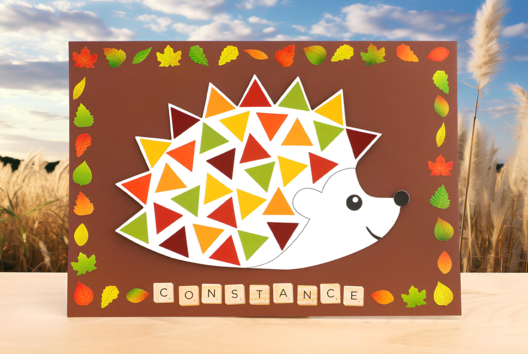
Hedgehog Sticker Canvas
C8413View 45619 time
-
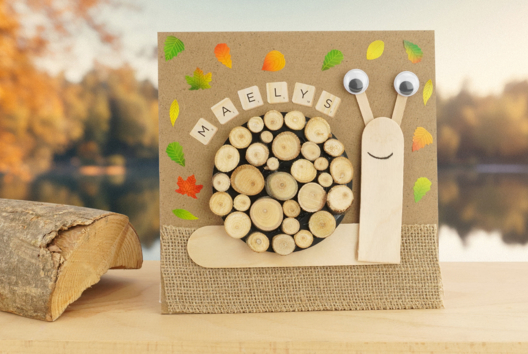
Autumn Snail Picture
C8380View 26984 time
-
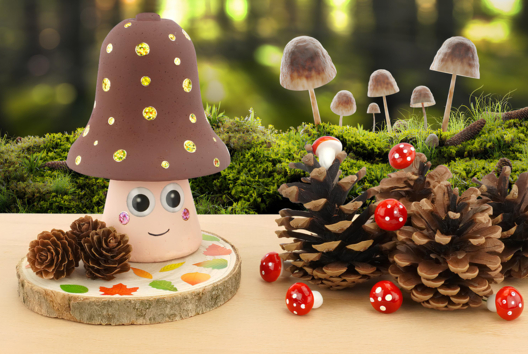
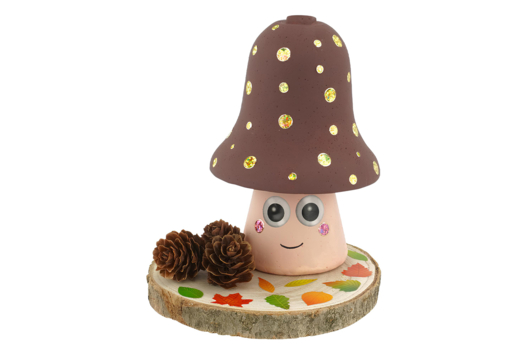
Gaston the Mushroom
C10874View 34873 time
-

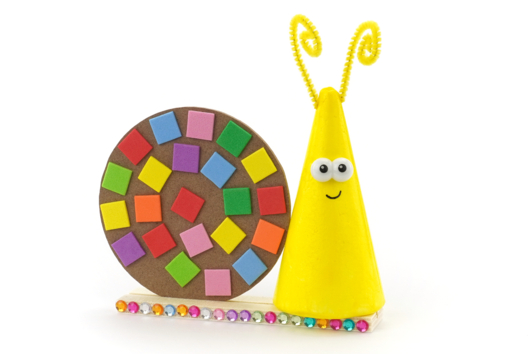
Nono the Snail
C10963View 13127 time
-
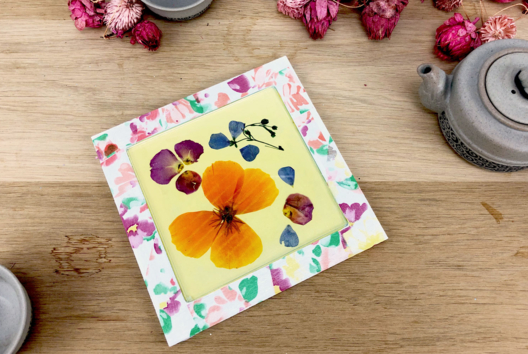
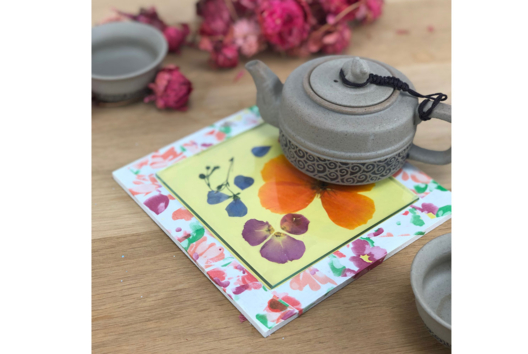
Dried Flower Trivet
C13523View 16106 time
-
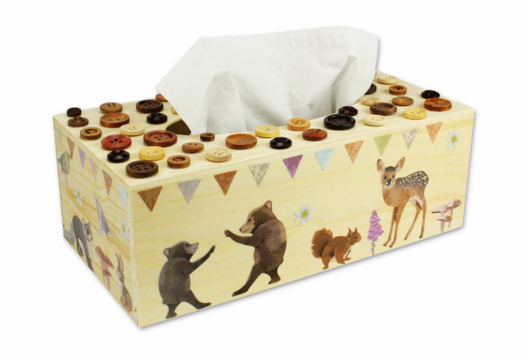
Forest Animal Tissue Box
C13317View 6730 time -
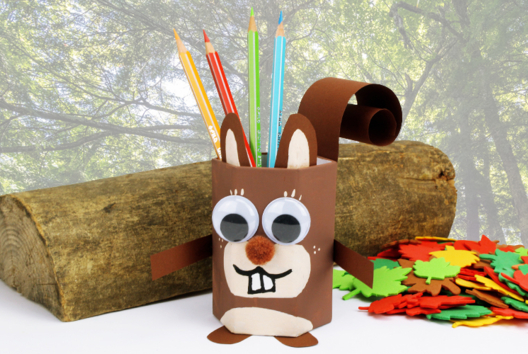
Squirrel Pencil Holder
C13026View 34942 time -
Paper Hedgehog
C12991View 62428 time
Vos créations inspirées par ce tuto
Avis client
5.0/5
1 avis publié
5
100%
4
0%
3
0%
2
0%
1
0%
Customer review
Adorable !
Une adorable activité à faire en famille ou à l’école ! Facile à mettre en place et à réaliser pour les enfants qui sont aisément en réussite ! On a adoré ! Merci 10 doigts !