Your cart is empty.
Transfer a Photo onto a Candle


Transfer a Photo onto a Candle


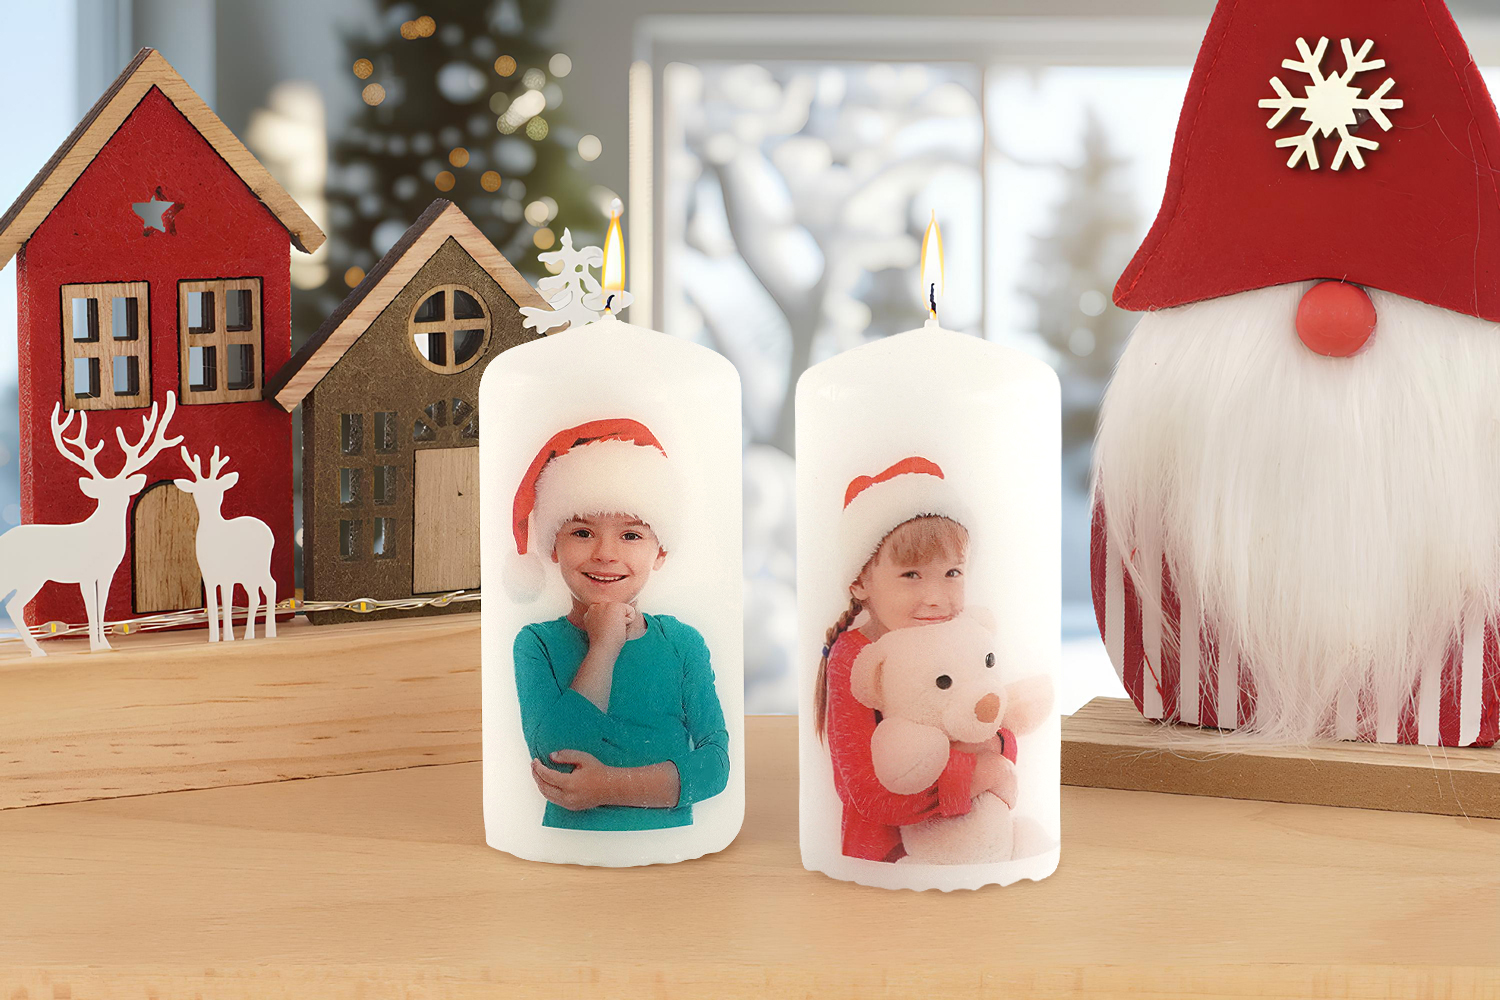
Want to create a unique and personalized gift for Christmas, a baptism, a wedding, or a birthday? Discover this simple tip to transform a white candle into a lovely keepsake!
Print your photos or visuals on white tissue paper, then use a hairdryer to gently melt the printed design into the candle. The result: an elegant and original creation, perfect for surprising your loved ones!
With just a few materials and in no time, make a handmade gift that is sure to impress!
How to complete this tutorial step by step?
Materials:
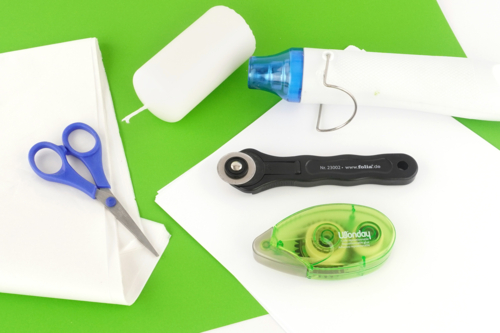
To make personalized candles you will need:
- White candles (Ø 5 cm x 10 cm)
- White tissue paper
- White printer paper
- Sulfur paper
- A heat gun
- A printer
- A pair of scissors / a rotary cutter
- A glue roller
Step 1:
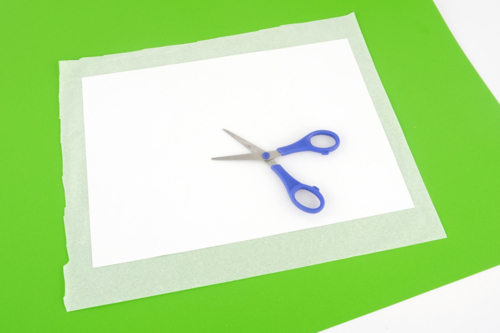
Cut a piece of white tissue paper larger than an A4 sheet and then place the shiny side down against the table.
Place a standard A4 sheet on top of the tissue paper. The goal is to thicken the tissue paper so that it can go through the printer.
Step 2:
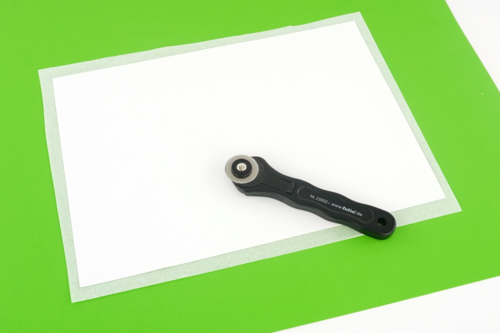
Re-cut the tissue paper with a rotary cutter, leaving about a 1 cm margin on each side of the sheet of white paper.
Tip: The rotary cutter allows for quick and easy cutting on the laid flat tissue paper! Remember to protect your work surface by using this tool with a cutting mat, for example.
Step 3:
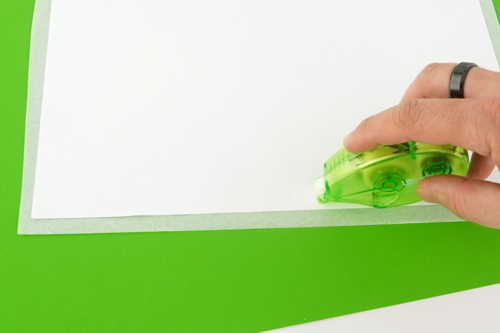
Place a line of glue around the edge of the sheet of white paper with the glue roller.
Step 4:
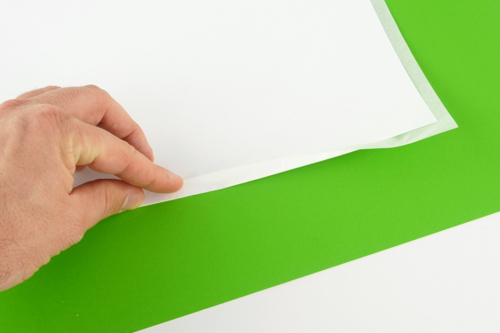
Fold and glue the tissue paper to the edges of the sheet of paper.
Step 5:
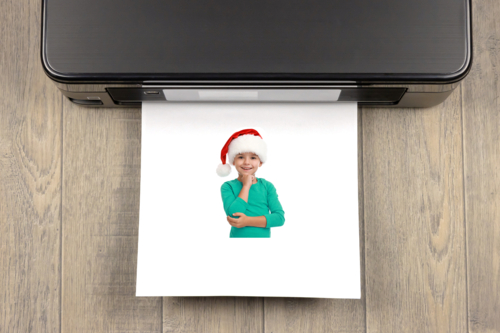
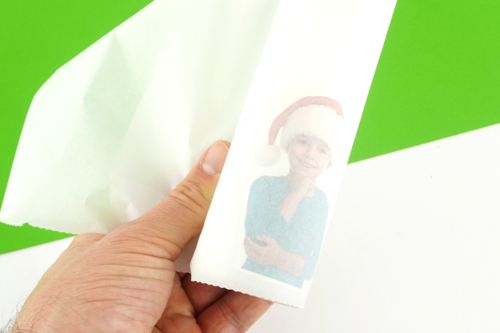
Place the doubled sheet of tissue paper in the printer and then print the photo you want to transfer onto the candle on the tissue paper.
Tips:
- maximum height of the photo: 8 cm
- slightly boost the colors of the photo before printing
- a photo on a white background will yield better results
Step 6:
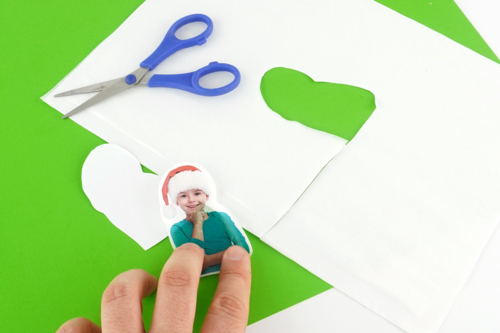
Cut the printed photo on the tissue paper, leaving a small white border.
Step 7
Place the photo on the candle and then wrap it with a sheet of parchment paper.
Step 8
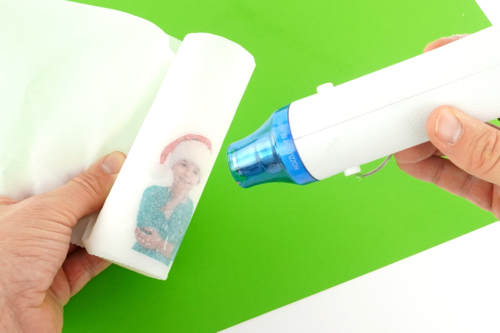
Heat with a heat gun.
As the wax melts, it will gradually darken the colors of the photo through the parchment paper. Once the color change is uniform, your transfer will be complete.
Step 9
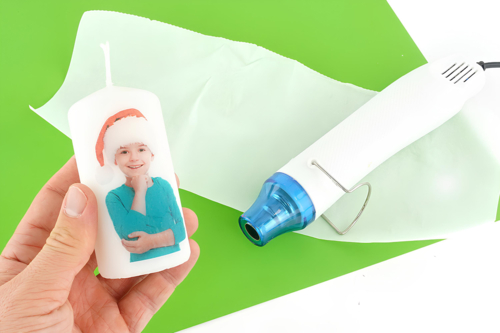
Remove the baking paper and admire the result!
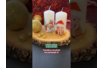
An easy technique to create beautiful personalized candles for celebrations!
The products used:
The products used:
11,94€ (either 1,99 € / pc)
Available

3,99€ (either 0,17 € / pc)
Available

2,99€
Available


Other tutorials on the theme "Holiday Tables"
-

Pipe Cleaner Christmas Tree
C17464View 5335 time


-


Little Light-Up Christmas Tree
C17460View 2483 time

-
Christmas Lantern
C15425View 45114 time
-
Melting Snowman
C15414View 39150 time

-

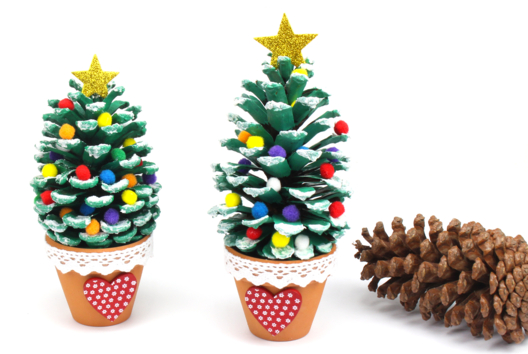
Christmas Tree with a Pine Cone
C13134View 125868 time
-
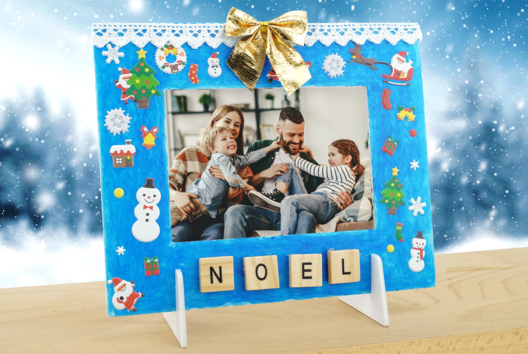
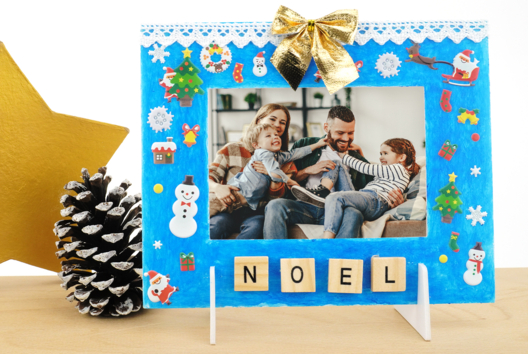
Family Memory Frame "Christmas Together"
C11235View 14400 time
-


Rudolphs made from corks
C12433View 96651 time -

Conical Snowman
C11926View 20079 time -

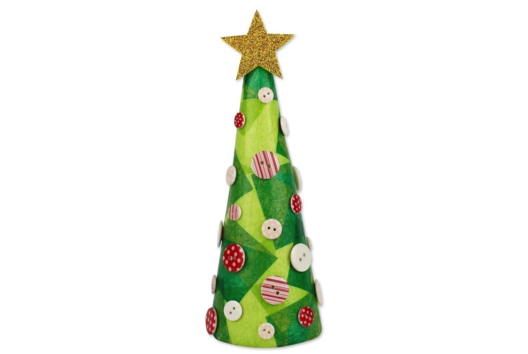
Cone Christmas Tree
C11924View 57435 time -
Rock Painting for Christmas
C11923View 26851 time
Customer review
Give your feedback
Transfer a Photo onto a Candle
Be the first to share your review of this product.
Post a review