Your cart is empty.
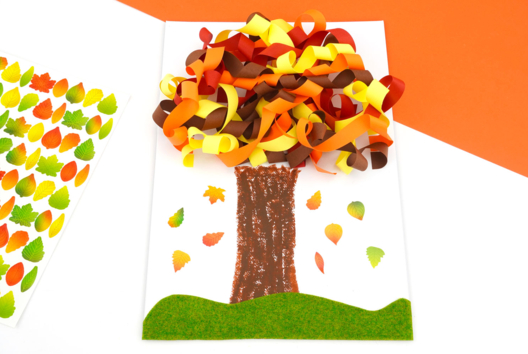
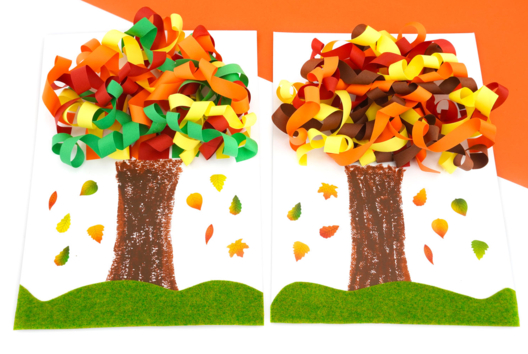
Autumn Tree with Tissue Paper
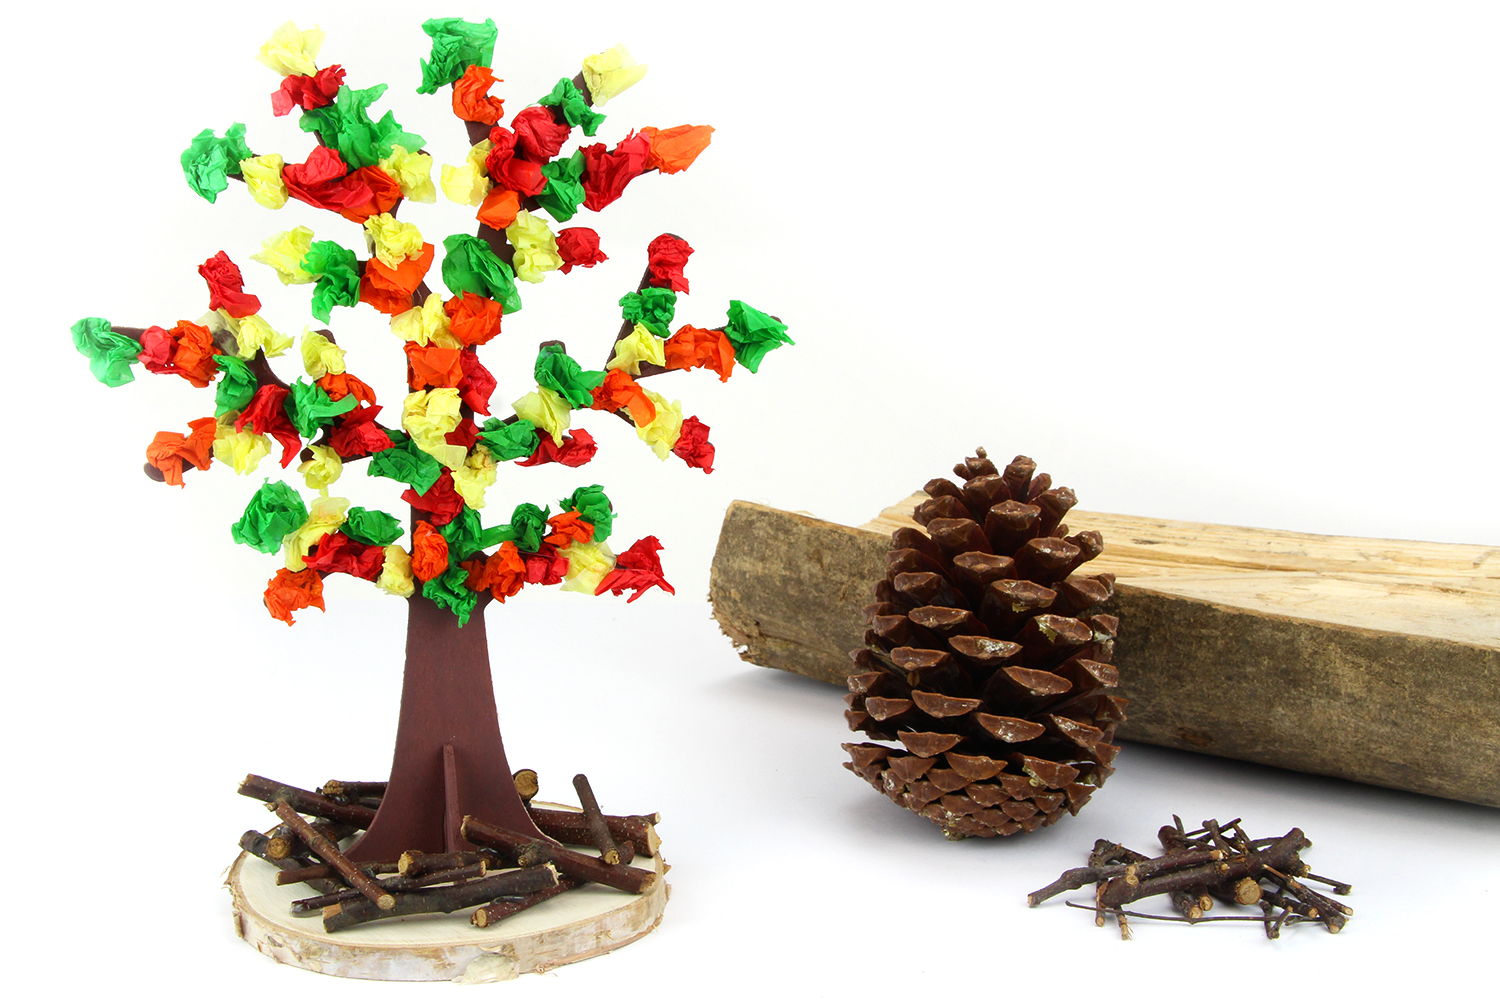
Autumn Tree with Tissue Paper

Cutting, gluing, and painting are on the agenda for this creative activity that will allow children to create a beautiful tree in autumn colors!
How to complete this tutorial step by step?
Materials
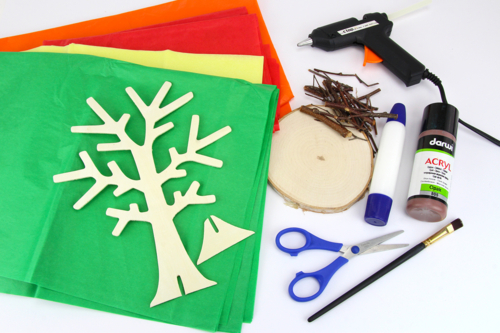
For this activity, you will need:
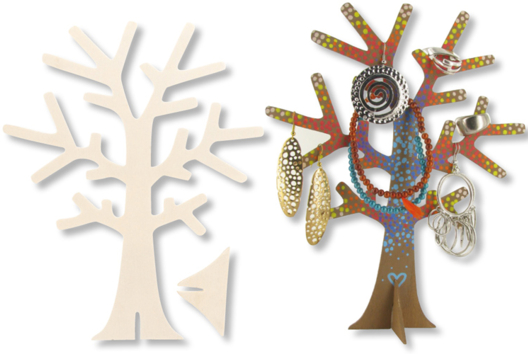
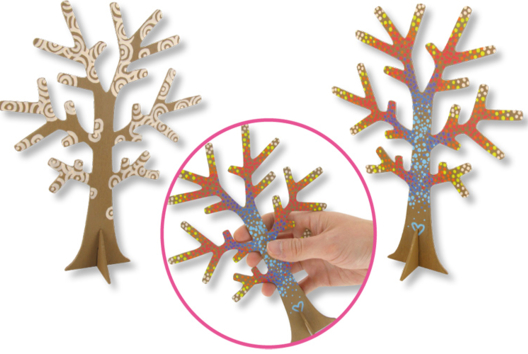
- a wooden tree
- brown acrylic paint
- a brush
- tissue paper (red, green, yellow, orange)
- a wood slice Ø 10 cm
- wooden twigs
- a tube of strong white glue
- a glue gun
- a pair of scissors
Step 1
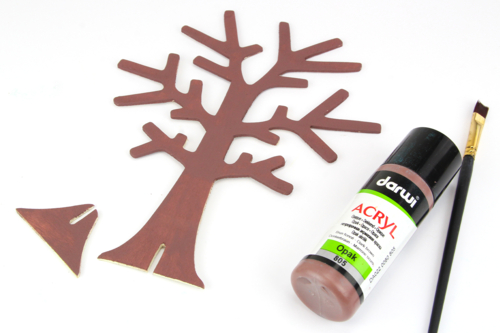
Paint the wooden tree with brown paint and let it dry for about 30 minutes.
Step 2
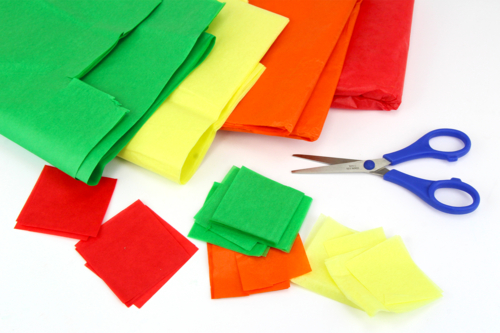
Cut approximately 100 squares of tissue paper measuring 5 x 5 cm.
Choose autumn colors (green, red, yellow, orange...).
Step 3
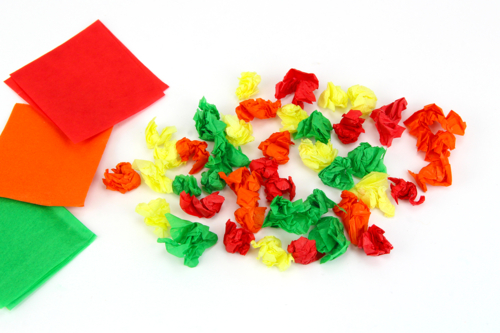
Make small balls with the tissue paper squares.
Step 4
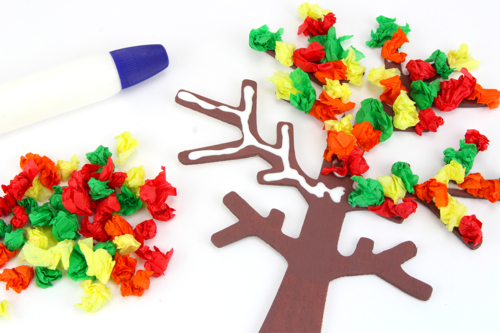
Apply strong white glue on the branches and then stick the tissue paper balls to create the foliage of the tree.
Step 5
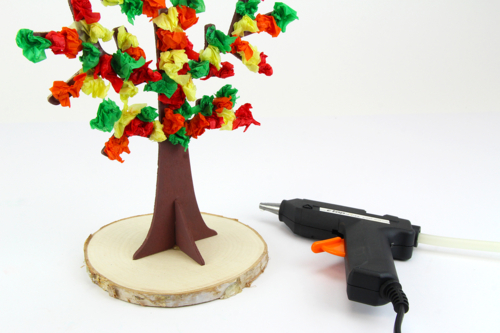
Glue the tree onto a piece of wood using a glue gun.
Step 6
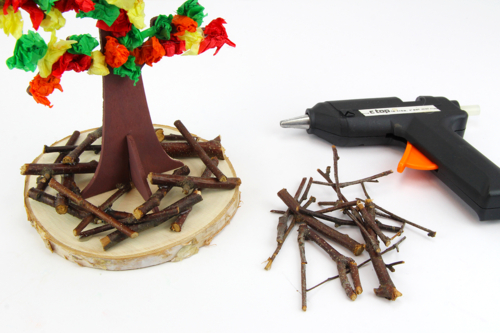
Decorate the wooden support by gluing small twigs.
The products used:
The products used:

Wood Jewelry Tree Holders - 4 Pieces
Réf. 15307 - Similar product
5,56€ (either 1,39 € / pc)
Available from 14/08/2026


2,99€ (either 1,00 € / pc)
Available

4,99€
Available

Wooden Discs Ø 8 to 11 cm - 6 Pieces
Réf. 36020 - Product sheet
5,96€ (either 0,99 € / pc)
Available


Other tutorials on the theme "Autumn Tutorials"
-
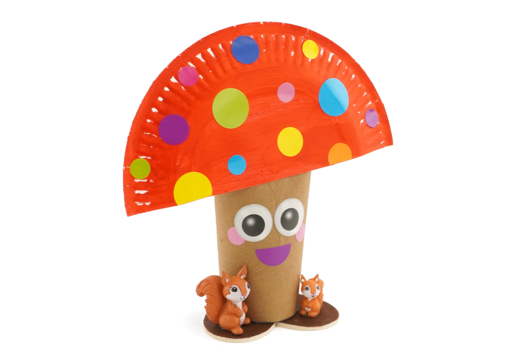
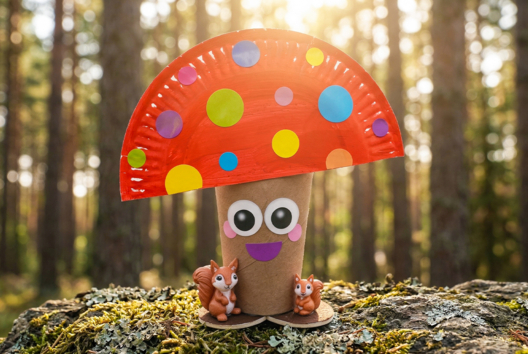
Funny Mushroom and Little Squirrels
C17711View 988 time


-
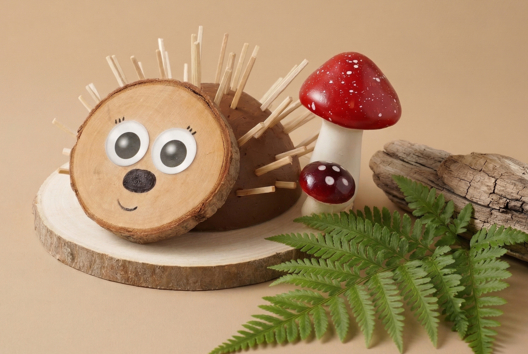
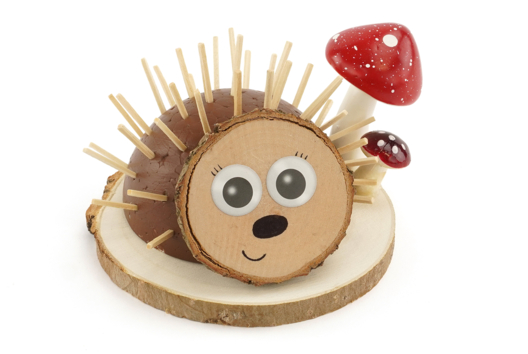
Hedgehog and Wooden Matches
C17707View 821 time
-
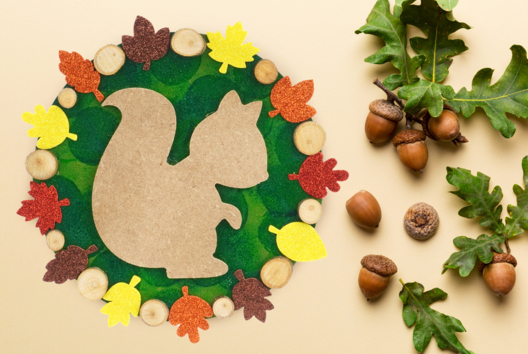
Squirrel Collage for Autumn
C11097View 32580 time
-
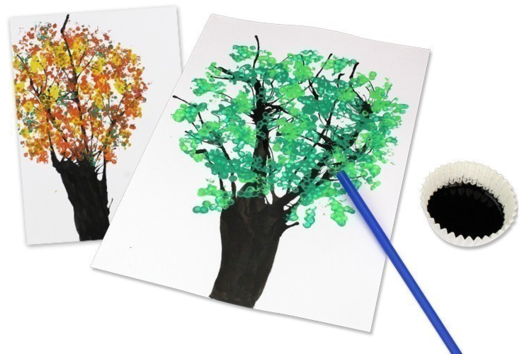
Autumn Tree in Rolled Paper
C11192View 52954 time
-
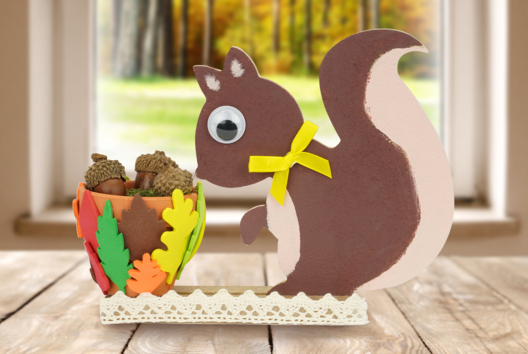
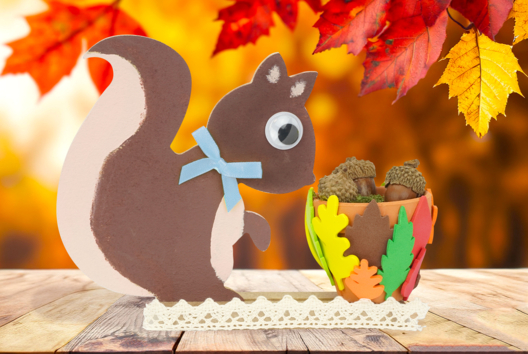
Squirrel and Its Autumn Harvest
C11030View 14693 time
-
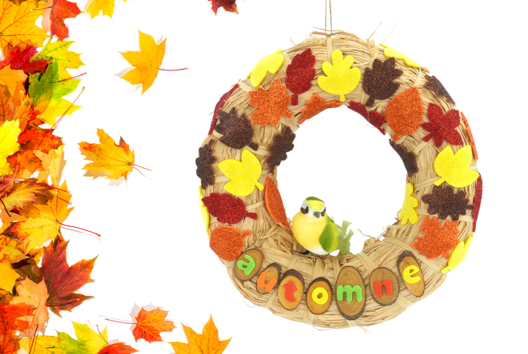
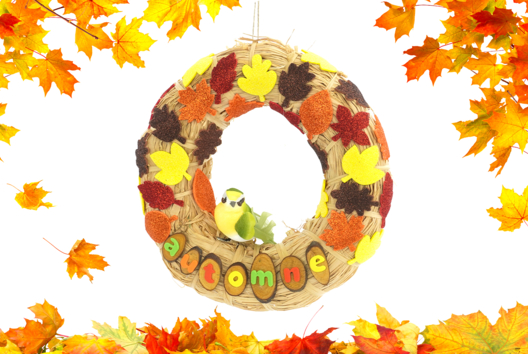
Autumn Color Wreath
C11098View 17342 time

-
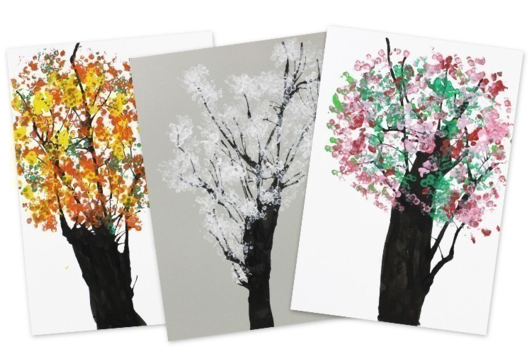
Trees of the 4 Seasons
C12432View 23960 time -
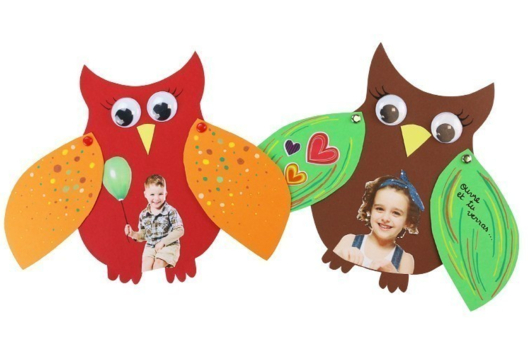
Owl Card
C12217View 68235 time
-
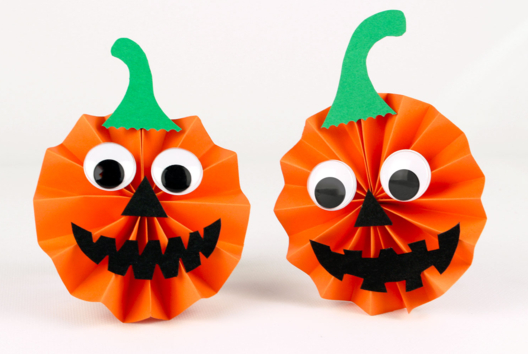
Small Paper Pumpkins
C11345View 200555 time -
Wooden Jewelry Tree
C10960View 13611 time
Vos créations inspirées par ce tuto
Customer review
Give your feedback
Autumn Tree with Tissue Paper
Be the first to share your review of this product.
Post a review