Your cart is empty.
Make a Fan - Easy DIY


Make a Fan - Easy DIY


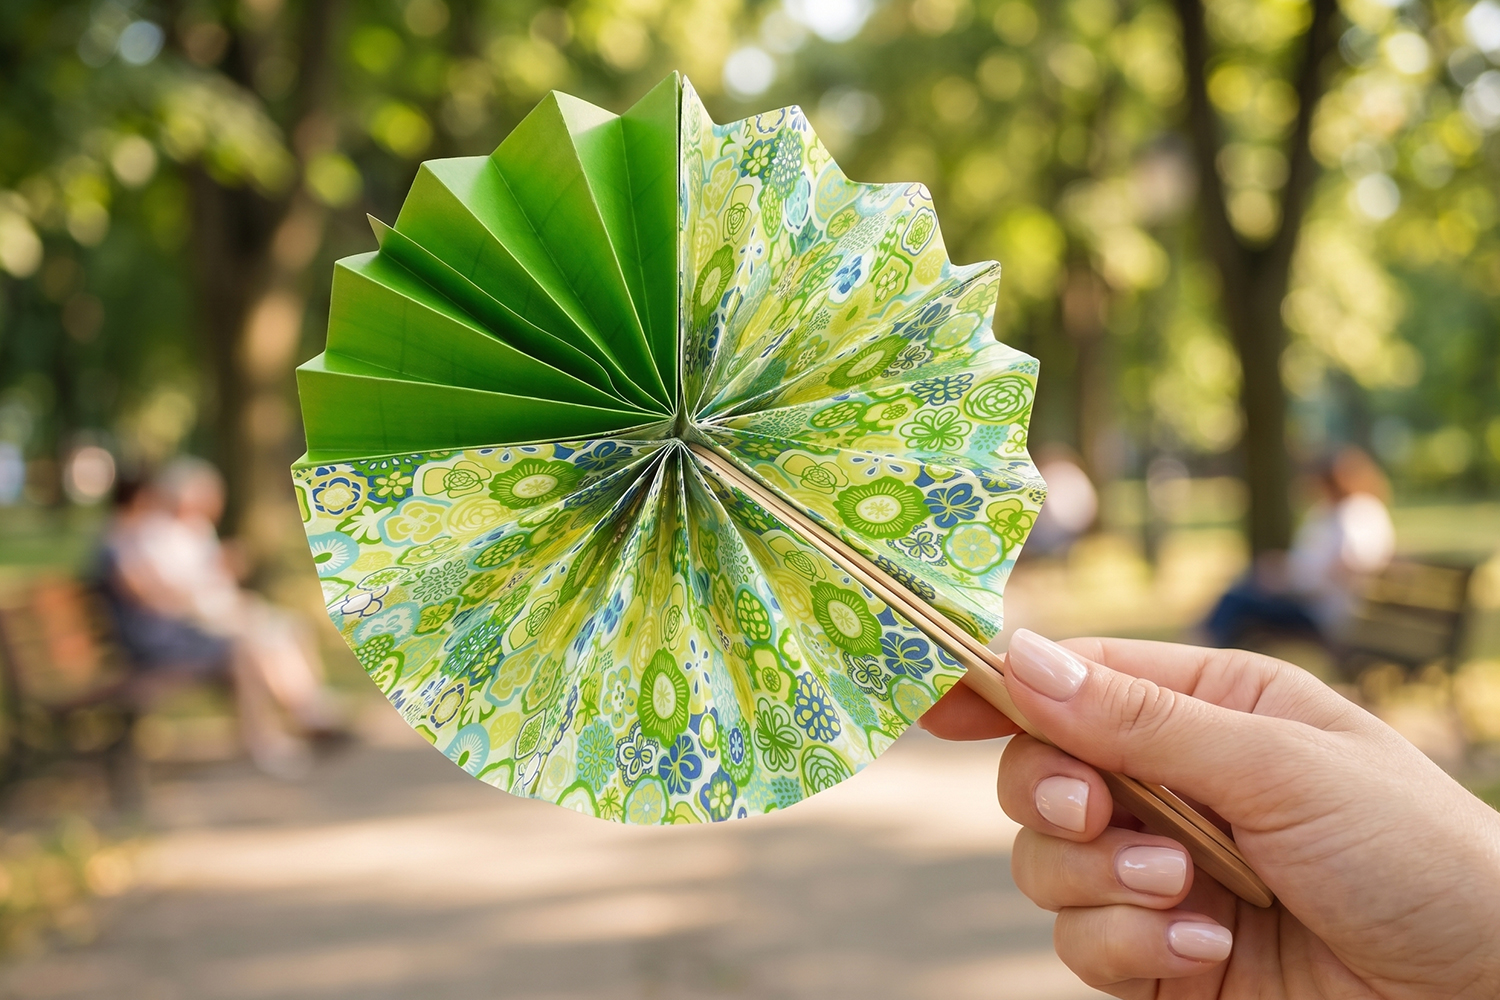
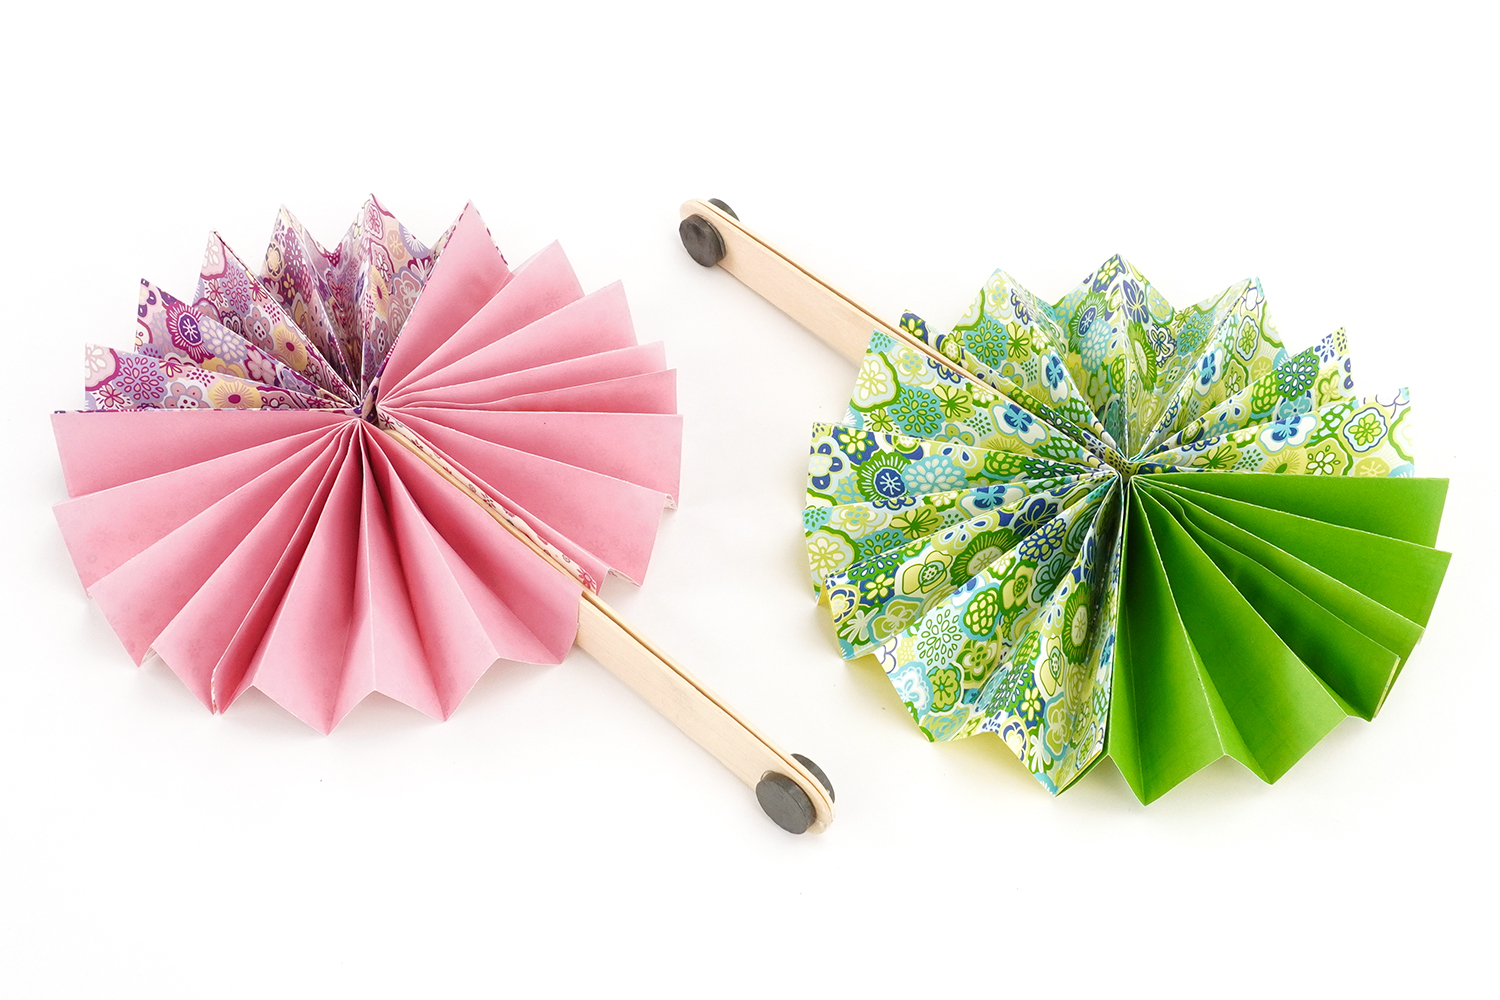
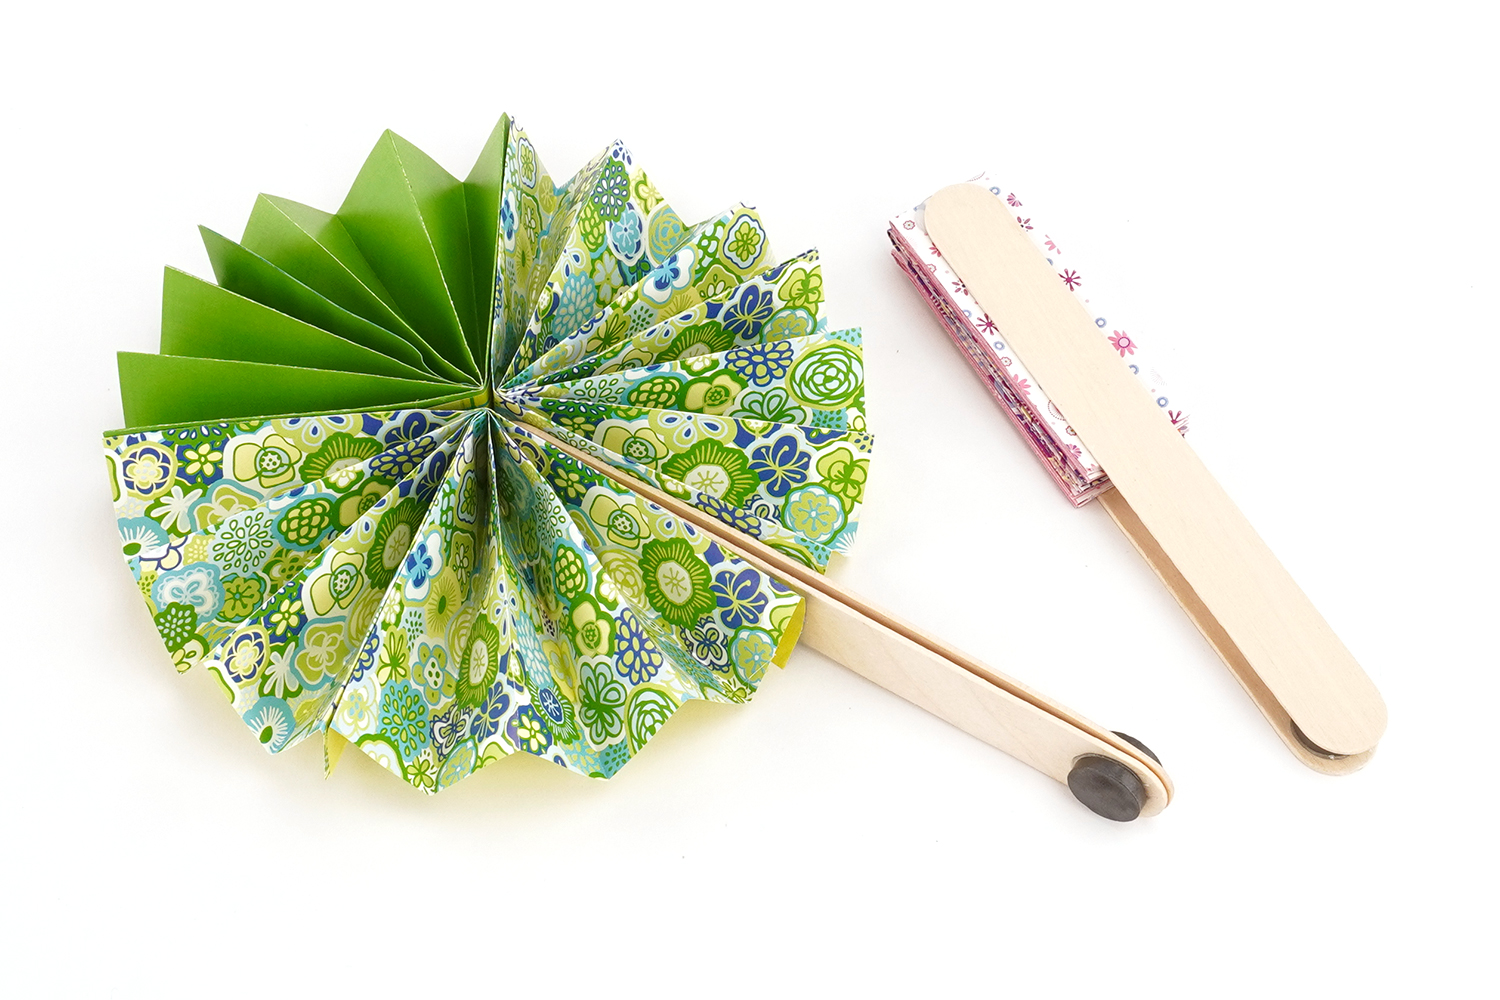
Stay cool all summer with this clever and colorful paper fan DIY! This project shows you how to transform simple sheets into a super practical fashion accessory. The secret trick of this creation? Using small magnets attached to the sticks, allowing the fan to fold completely compact for easy storage in a handbag or pocket. It's the perfect summer activity to combine creativity and utility!
Why we love this activity?
-
Thanks to the magnets, the fan opens wide to form a perfect rosette and closes in the blink of an eye.
-
A 100% personalized style: with our patterned paper, each fan becomes a unique accessory.
-
Folding regularly in accordion style is a great exercise to develop children's patience, symmetry, and precision.
-
This item takes up no space and becomes the best ally for parents and children on hot sunny days.
How to complete this tutorial step by step?
Materials
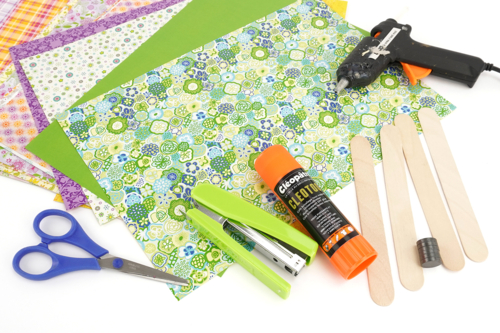
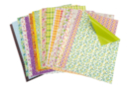
To make a fan, you will need:
- 2 sheets of patterned paper (A4 - 80 g/m²)
- 2 wooden sticks (15.5 cm)
- 2 magnets (Ø 1.5 cm)
- a pair of scissors
- a strong glue stick
- a glue gun
- a stapler
Step 1
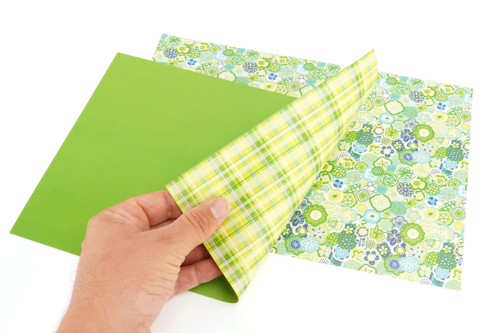
Select 2 sheets to make your fan.
Our sheets with patterns on one side and a solid color on the other will create a fan with a lovely "patchwork" look.
Tip: use lightweight paper sheets (80 g/m²).
Step 2
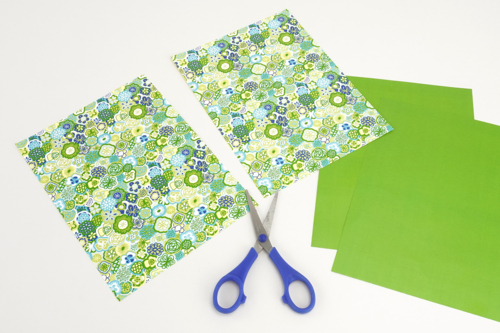
Cut the 2 selected sheets in half.
Step 3
Take one half-sheet and fold it in half.
Step 4
Fold the sheet over itself 2 more times to create a strip of paper about 2.5 cm wide.
Step 5
Unfold the sheet. These last 2 steps allow for uniform crease markings with strips of the same width.
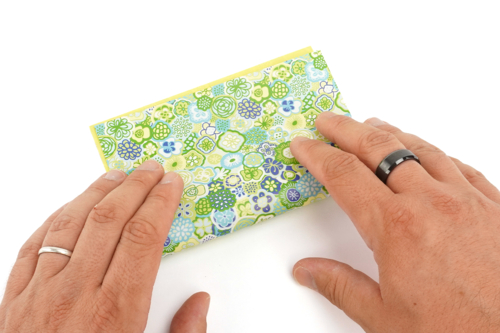
Step 6
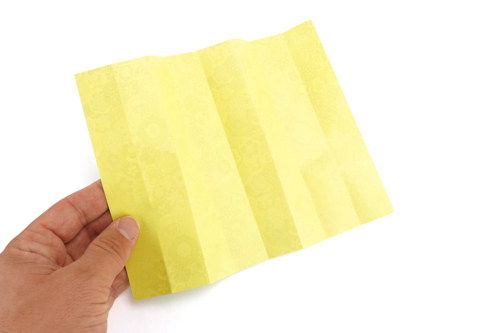
Fold the sheet in accordion style.
Step 7
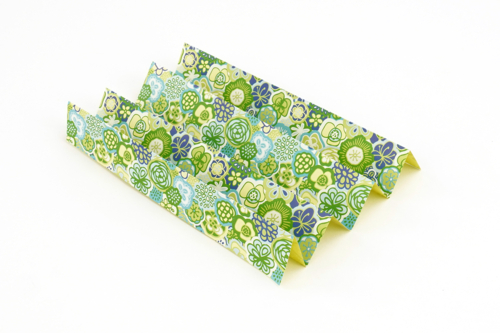
Fold the accordion in half.
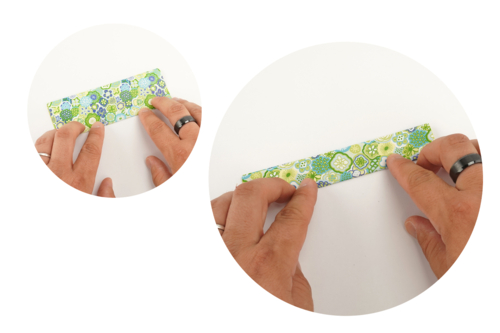
Step 8
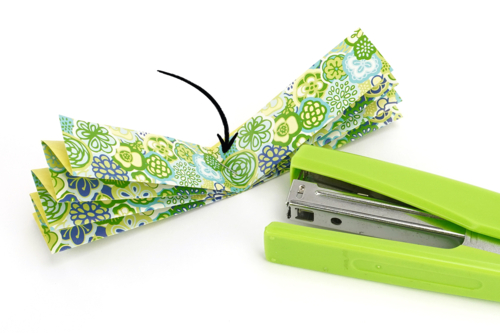
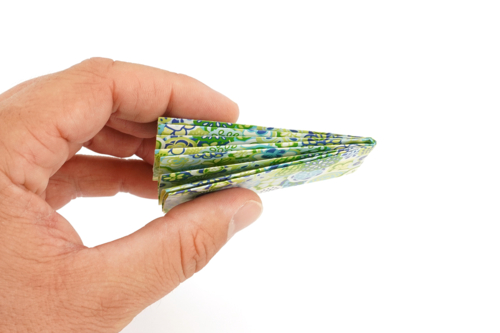
Place a staple at the central fold. This step is important as it will ensure a sturdy fan.
Step 9
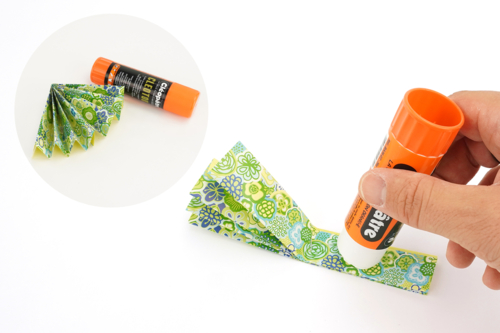
Apply glue and then close the accordion to create a small fan.
Step 10
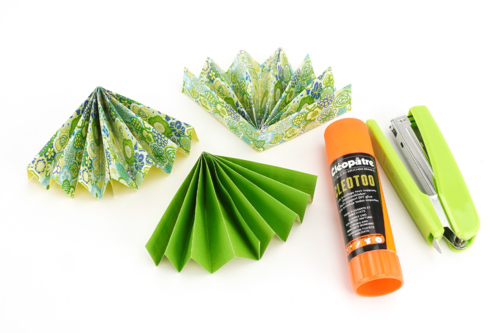
Repeat the previous steps to create 3 small paper fans.
Step 11
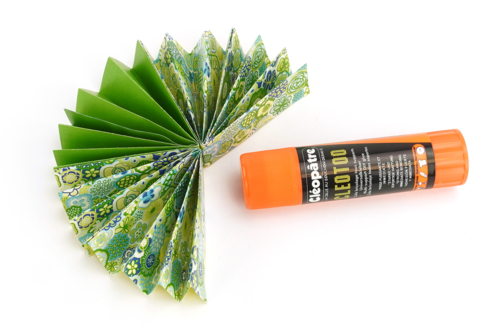
Assemble the 3 fans together using the strong glue stick.
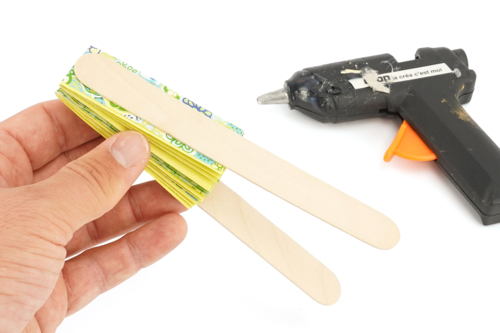
Step 12
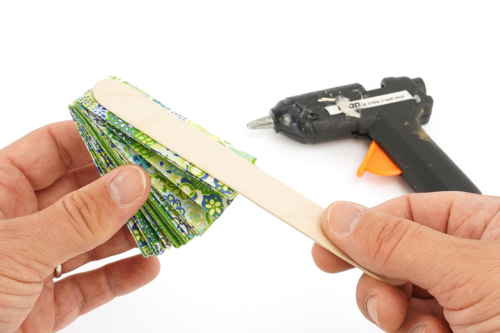
Glue one wooden stick as shown in the photo using a glue gun for a secure attachment.
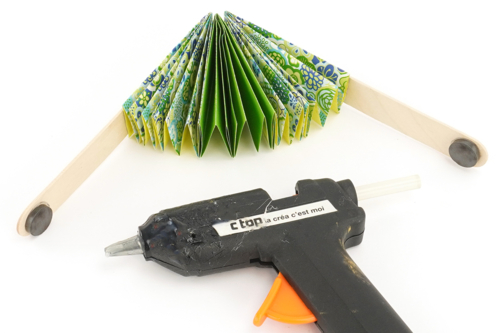
Step 13
Glue a second wooden stick on the opposite side of the fan.
Step 14
Glue 2 magnets to the ends of the wooden sticks using the glue gun.
Step 15
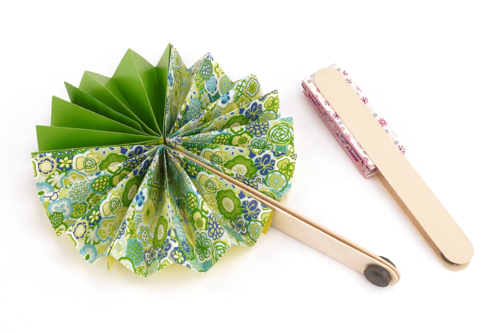
Conveniently, the magnets will keep the fan closed for easy and compact storage in a bag!
The products used:
The products used:


Other tutorials on the theme "Summer Tutorials"
-
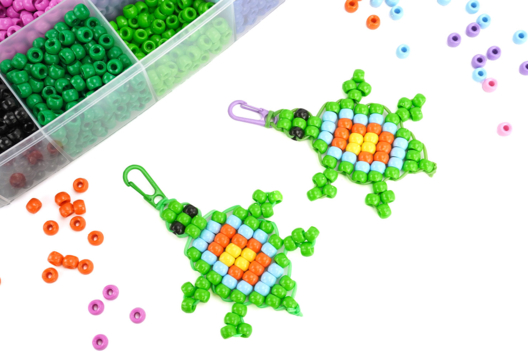
Turtle made of pony beads
C17833View 193 time


-

Chennile Wire Bracelet
C17816View 565 time

-
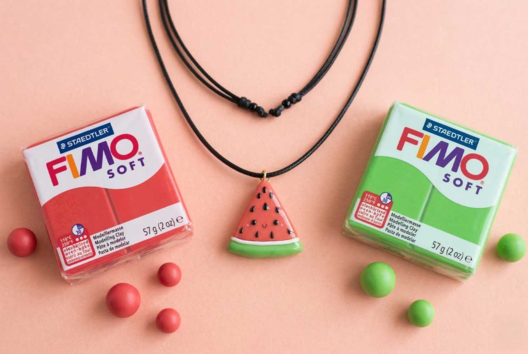

Kawaii Watermelon Pendant in Fimo Clay
C17725View 1160 time

-


Foam Rubber Hawaiian Necklaces
C11223View 1756 time

-
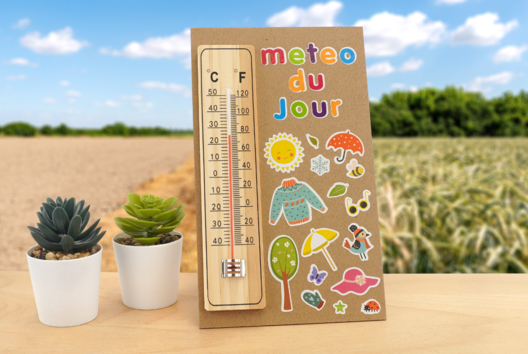
Four Seasons Thermometer
C17260View 10226 time
-
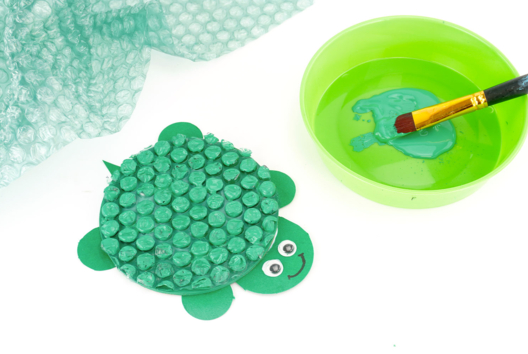
Bubble Wrap Turtle
C17262View 10718 time
-
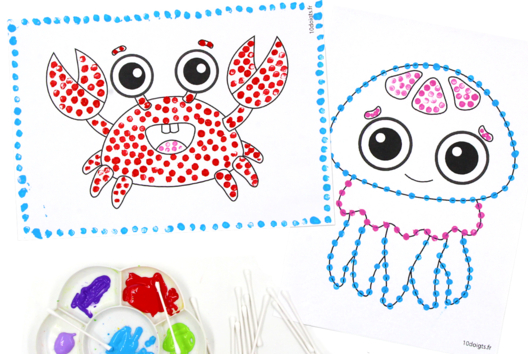
Cotton Swab Painting
C14727View 98579 time
-
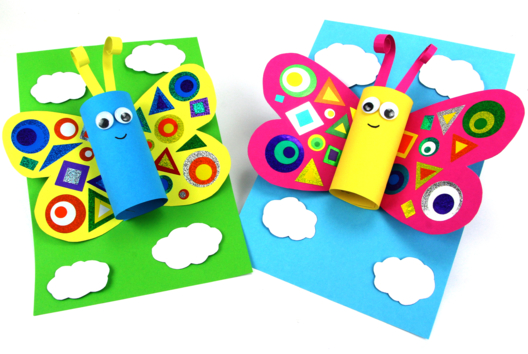
Paper Butterflies and Shiny Stickers
C14726View 30562 time -
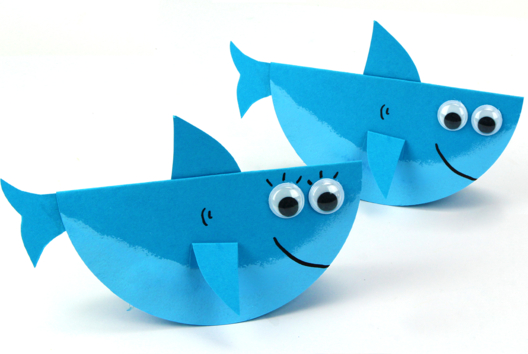
Paper Rocking Shark
C14725View 25912 time -
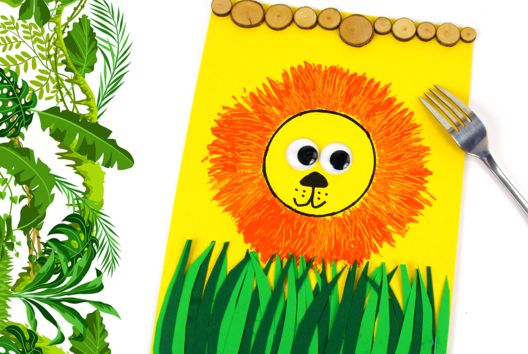
Fork Painting: Lion
C14715View 26768 time
Customer review
Give your feedback
Make a Fan - Easy DIY
Be the first to share your review of this product.
Post a review