Your cart is empty.
Snow Globe
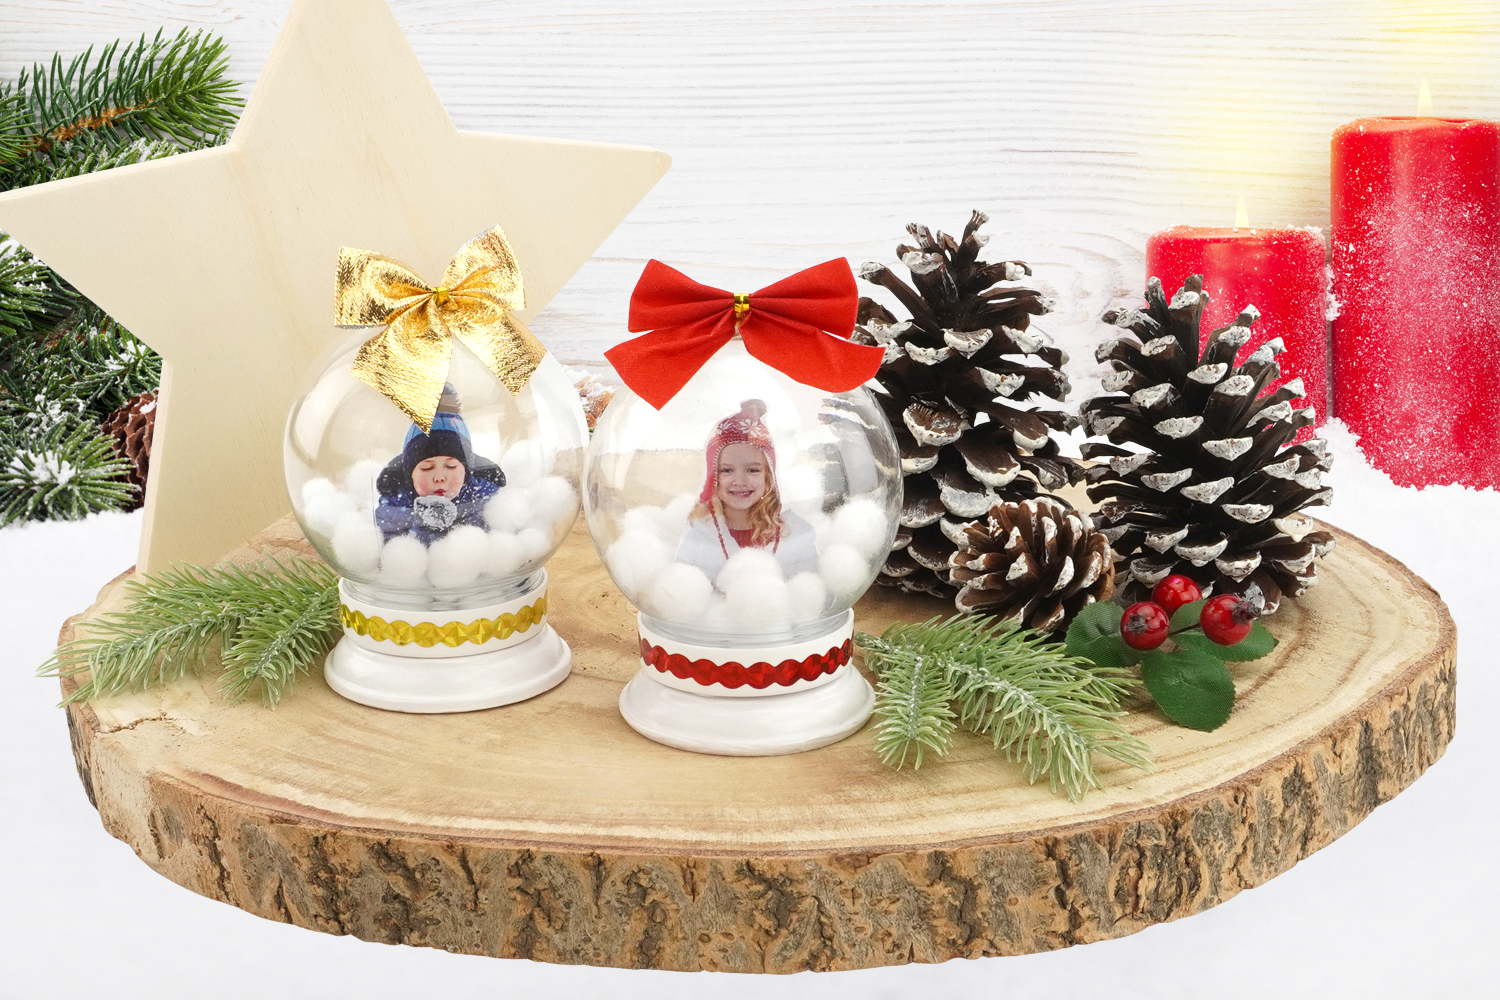
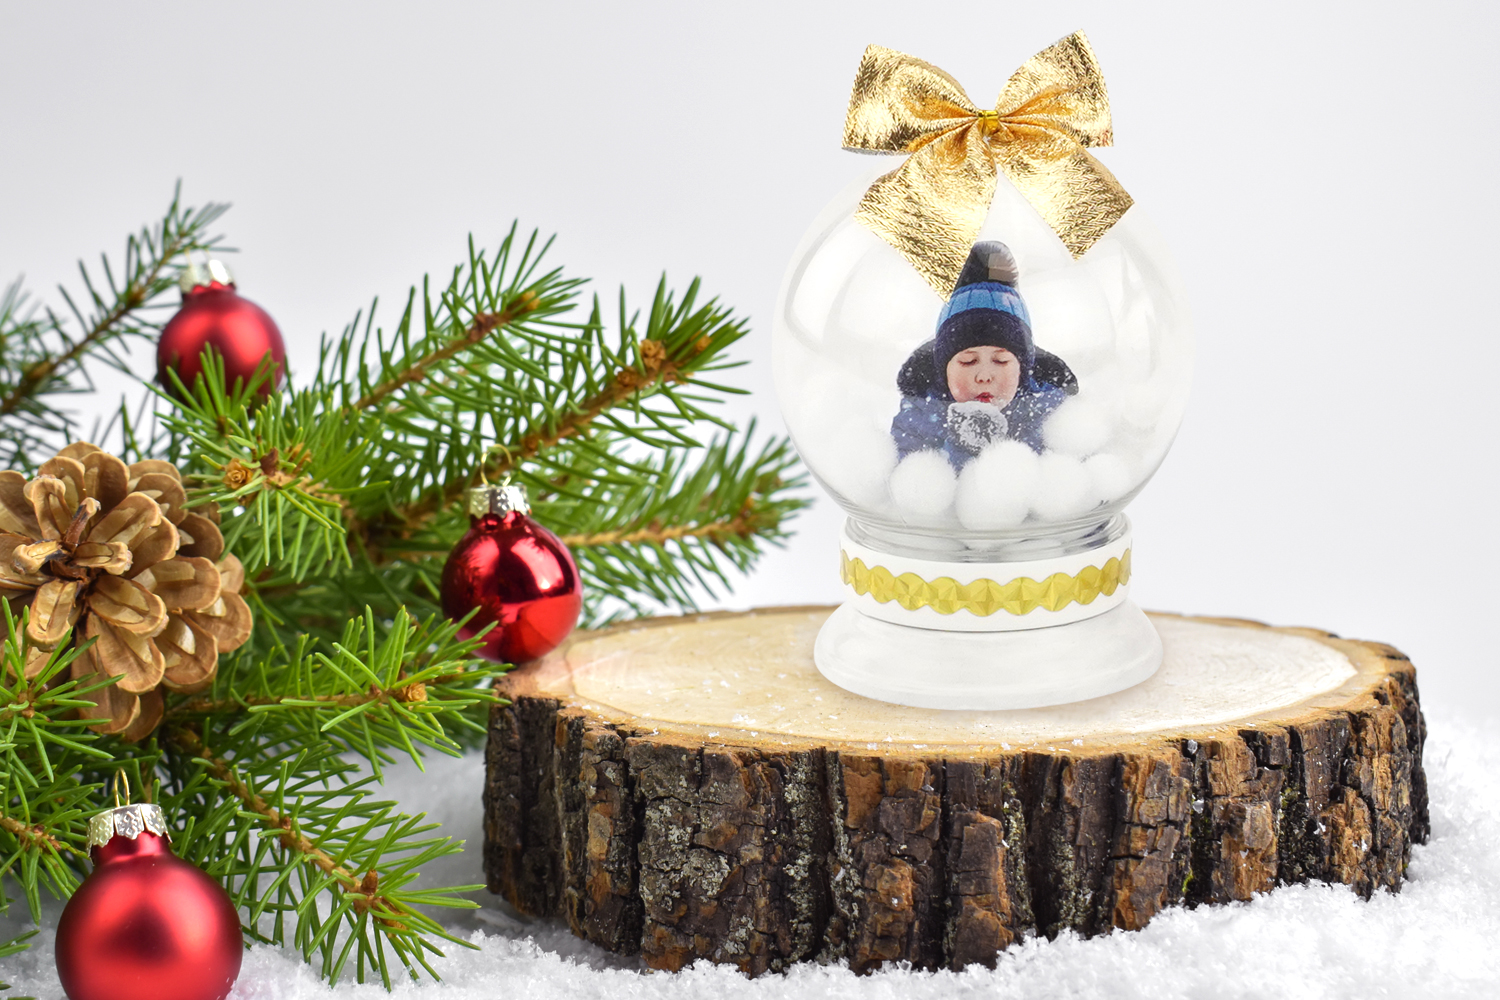
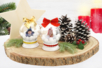

Snow Globe


In this Christmas activity, we will show you how to easily create a beautiful snow globe to capture your children's photos in a unique way!
These snow globes will also make lovely personalized gifts to give to loved ones for the year-end celebrations.
Thèmes de l'idéa créa :
#Christmas Tutorials
#Christmas Crafts
#I'm Making a Snow Globe for Christmas
How to complete this tutorial step by step?
Materials
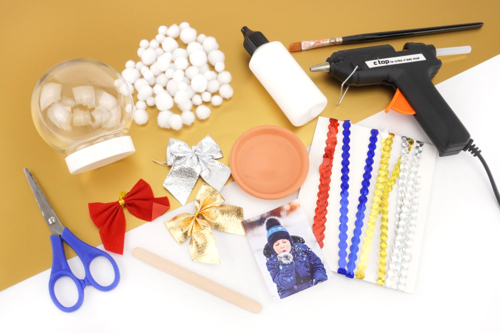
To create a lovely snow globe:
- a plastic globe
- a terracotta dish (Ø 6.5 cm)
- white acrylic paint and a brush
- a wooden stick
- a photo
- small white pom-poms
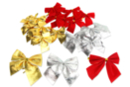
- a fabric bow
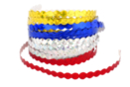
- metallic adhesive ribbons
- a pair of scissors
- a glue gun
Step 1
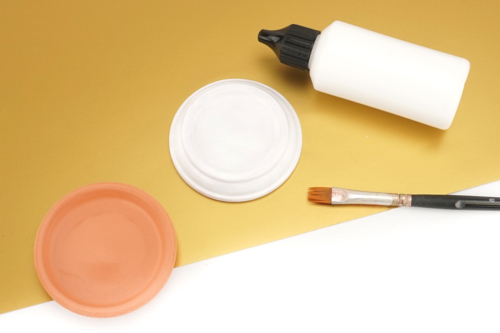
Turn the terracotta bowl over and then paint it white.
Step 2

Cut out a photo and then glue it onto a wooden stick.
Note: The photo must measure no more than 5 cm in width and 7 cm in height.
Step 3
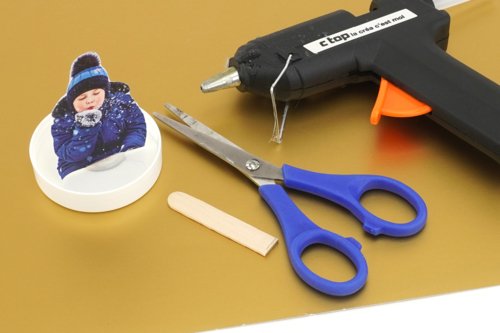
Cut the excess stick and then glue the photo to the inside of the globe lid using a glue gun.
Step 4
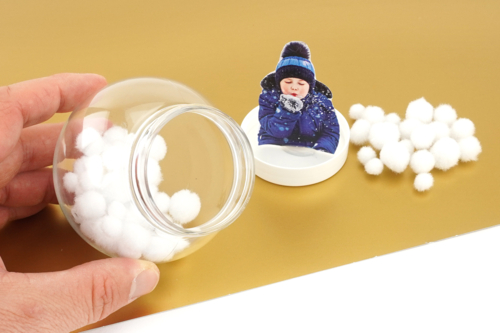
Place a small handful of white pom poms inside the globe and then close the lid.
Step 5
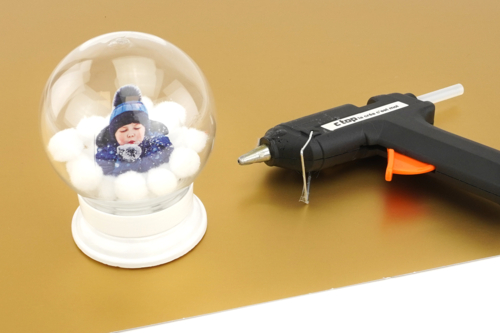
Glue the globe onto the base using the glue gun to create a lovely stand for your snow globe.
Step 6
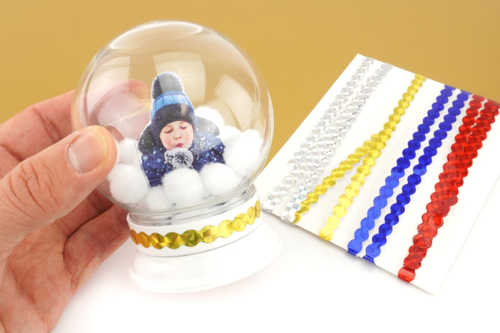
Decorate the globe's lid with metallic tape.
Step 7
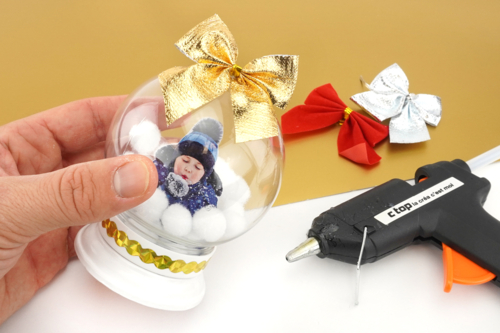
Glue a large bow to the top of the globe to complete your creation.
The products used:
The products used:

Transparent Plastic Globes - 4 Pieces
Réf. 46117 - See the full range
7,96€ (either 1,99 € / pc)
Available


2,99€ (either 1,00 € / pc)
Available
3,49€
Available from 22/06/2026


Other tutorials on the theme "Christmas Tutorials"
-
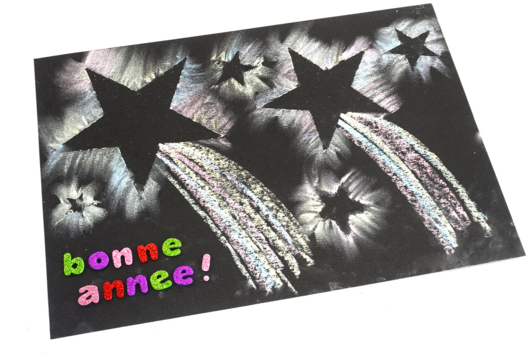
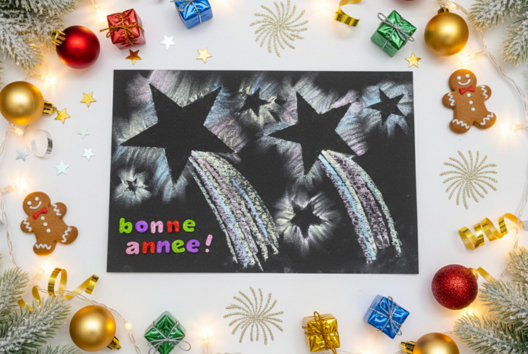
Chalkboard "Happy New Year"
C17575View 3007 time


-


Pipe Cleaner Christmas Tree
C17464View 4904 time


-
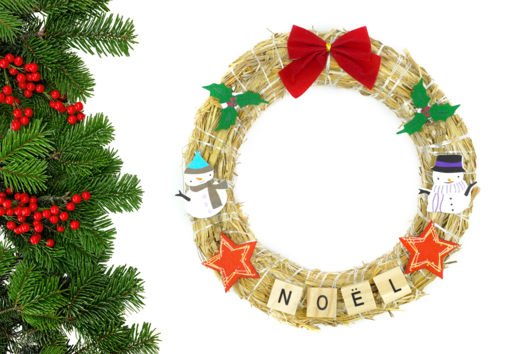
Straw Christmas Wreath
C9523View 4430 time
-

Hanging Little Elves for the Christmas Tree
C11022View 45865 time
-
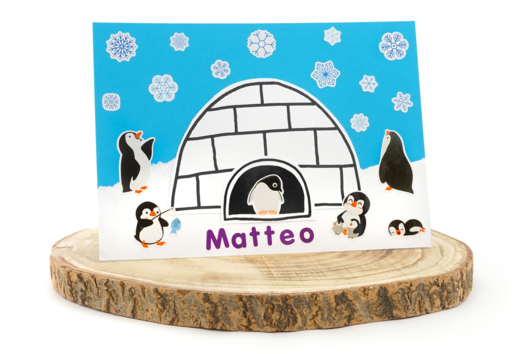
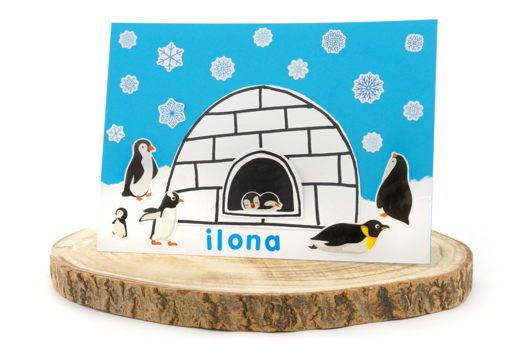
Little Penguins on the Ice Floe
C10984View 18634 time
-
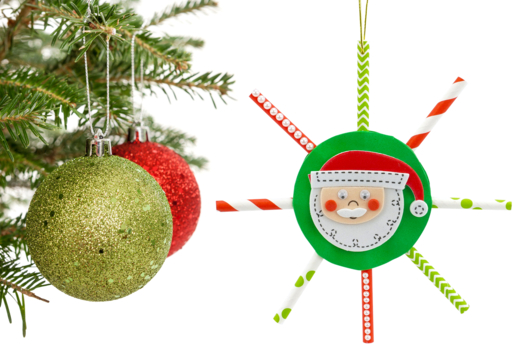

Christmas Stars with Cardboard Straws
C11013View 11172 time
-

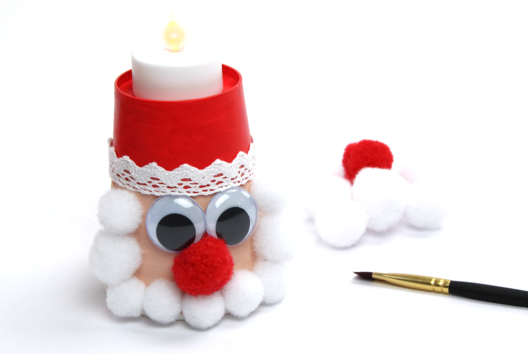
Illuminated Santa Claus with a Paper Cup
C14818View 19787 time -
Driftwood Reindeer
C14820View 10890 time -

Glitter Christmas Bauble with Photo
C14812View 46872 time -

Photo Tree
C14607View 14125 time
Customer review
Give your feedback
Snow Globe
Be the first to share your review of this product.
Post a review