Your cart is empty.
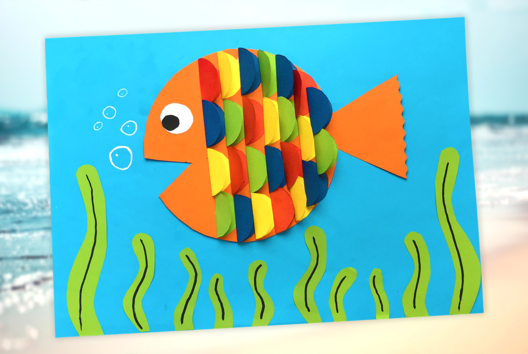
Colored Fish Canvas


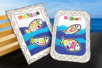


Colored Fish Canvas


With just a few sheets of paper, a black marker, and colorful stickers, children dive into a highly entertaining creative workshop! They tear, cut, glue… and bring to life lovely funny fish in a personalized marine decor.
This easy and quick craft is a hit among the little ones: it stimulates fine motor skills, develops imagination, and offers a graphic result to proudly display or gift! Perfect for keeping summer afternoons busy or running a workshop in class.
Why do we love this activity?
- It combines cutting, tearing, and gluing, working fine motor skills without it seeming like work.
- The colorful stickers allow kids to express themselves freely and create all different kinds of fish.
- Ideal for a group activity, at home, in a leisure center, or at school.
- It can be adapted to the age of the children: simple shapes for the little ones, more detailed elements for the older ones.
Thèmes de l'idéa créa :
#Animal Tutorials
#Glue and Fold Tutorials
#Ocean Tutorials
#Summer Tutorials
How to complete this tutorial step by step?
Materials
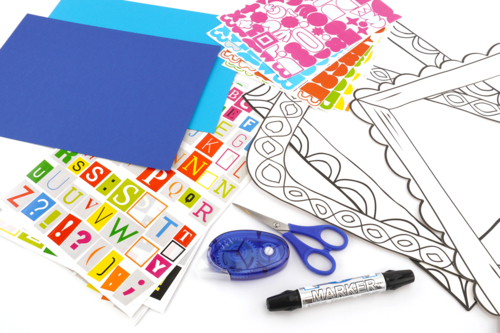
To make a fish board you need:
- 2 white sheets (A4)
- 1 dark blue sheet (A4)
- 1 light blue sheet (A4)
- a thick black marker
- abstract shape stickers
- magazine letter stickers
- a glue roller
- a pair of scissors
- a black and white strong card frame
Step 1
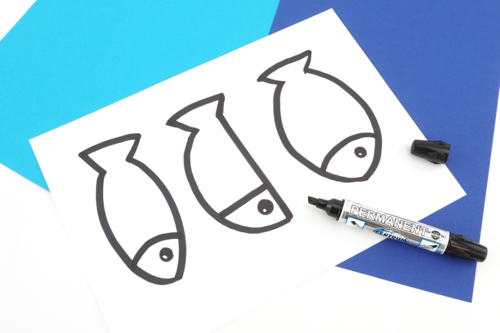
Draw 3 fish (about 15 cm) on a sheet of white paper using a thick black marker.
Make a black line to separate the head from the body of the fish, then draw an eye.
Note: the uniqueness of the fish drawn by children will add charm to this creation!
Step 2
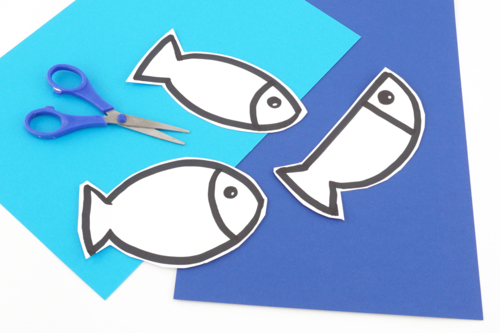
Cut out the fish, leaving a slight white border around the black line to add some contrast.
Step 3
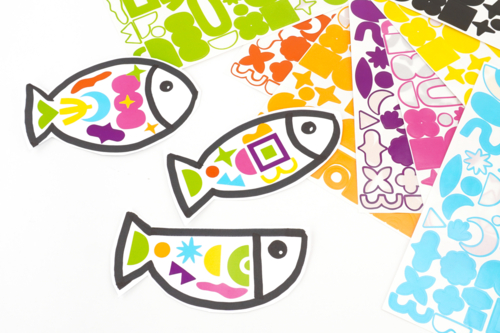
Decorate the bodies of the fish using colored foam stickers in abstract shapes for a unique finish.
Step 4
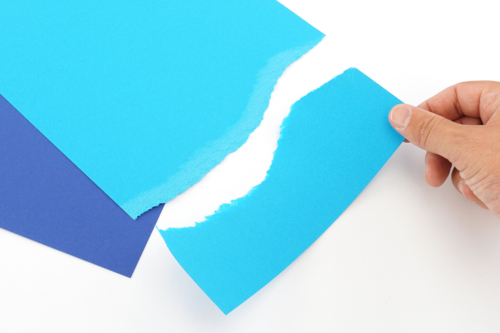
Tear a strip of blue paper widthwise to create the waves that will form the marine background of the picture.
Step 5
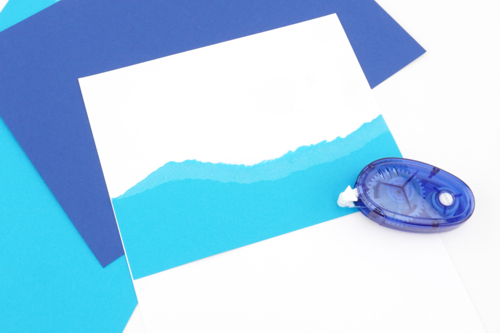
Glue the wave onto a white sheet (A4 format), making sure to leave a white area of about 10 cm at the top of the page.
Note: Use a glue roller, applying glue only on the edges of the wave. This will allow us to slide the fish between the waves at the end of the activity.
Step 6
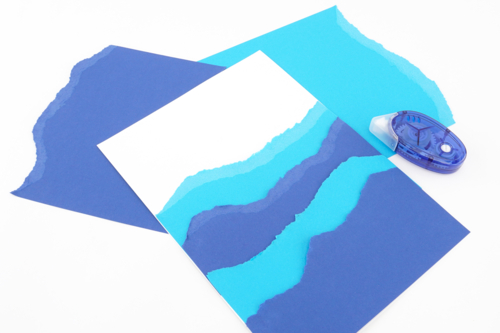
Cut out waves by hand, alternating between light blue and dark blue paper, and then glue them on top of each other.
Step 7

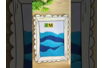
Glue a nice black and white frame above your underwater background using the glue roller.
Step 8
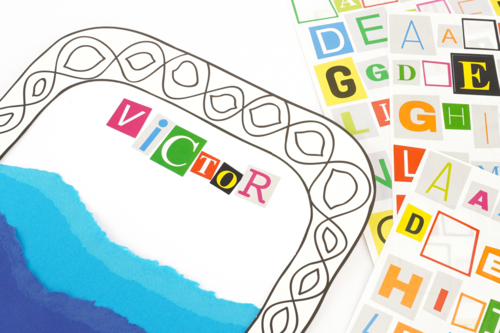
Customize the top of the board with a name using magazine letter stickers.
Step 9
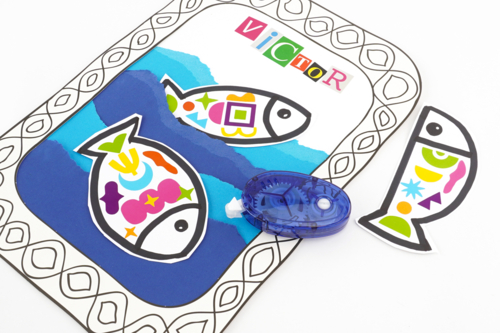
Glue the fish onto the waves (or between two waves) to complete your painting.
The products used:
The products used:

7,90€ (either 0,79 € / pc)
Available


3,59€ (either 0,36 € / pc)
Available

3,59€ (either 0,36 € / pc)
Available

3,99€ (either 0,67 € / pc)
Available

2,29€
Available

Other tutorials on the theme "Ocean Tutorials"
-
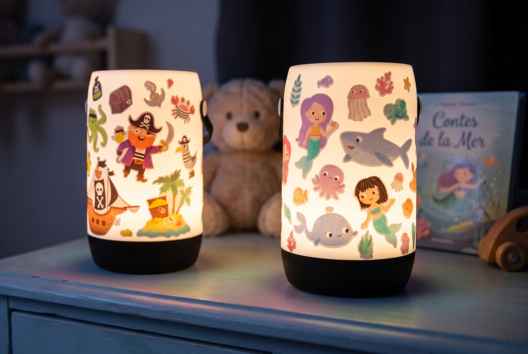
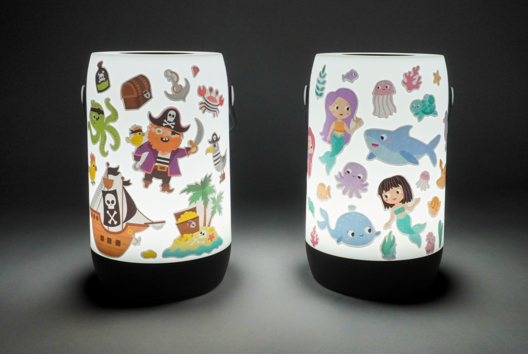
Night Light: Mermaids and Pirates
C17799View 4714 time


-
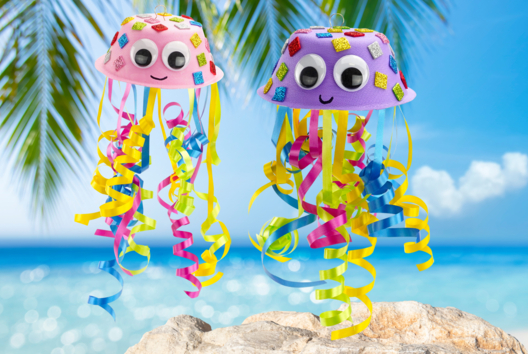
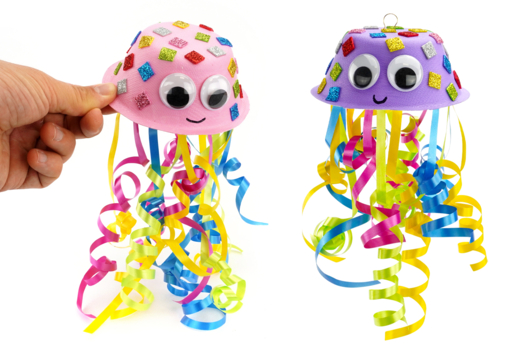
Colorful Jellyfish
C8412View 63122 time

-
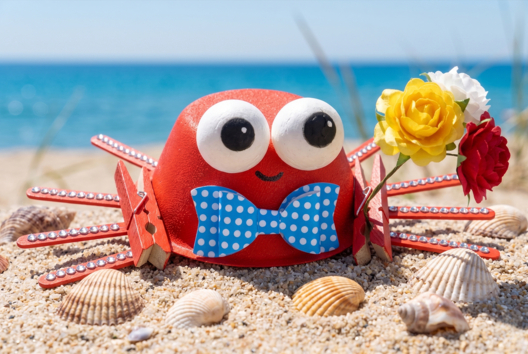
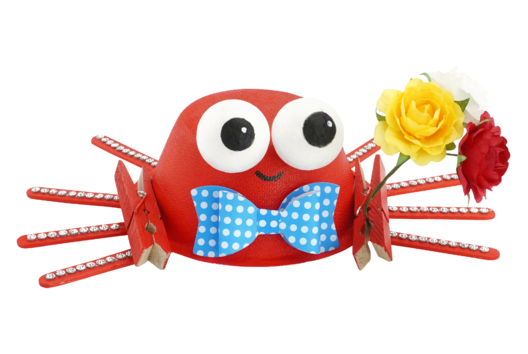
Clement the Elegant Little Crab
C8397View 20826 time
-
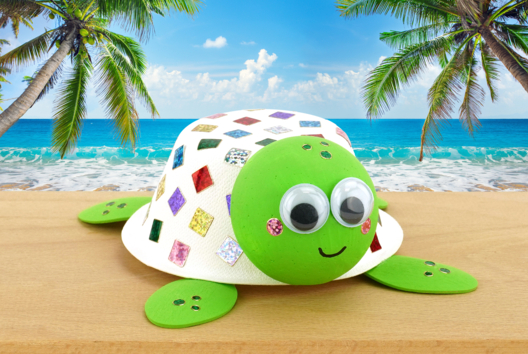

Sparkling Scales Turtle
C8406View 26805 time
-
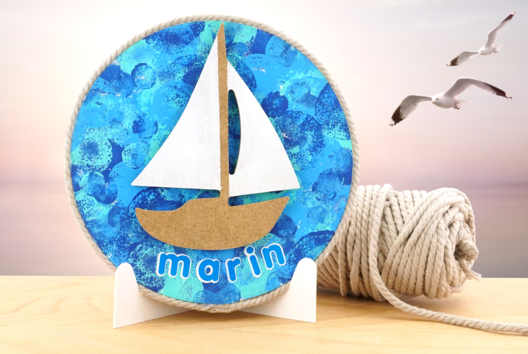
Ocean and Sailboat Canvas
C8403View 24224 time
-
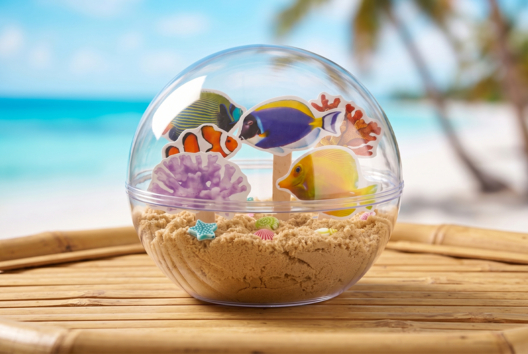
Aquarium and Exotic Fish
C14536View 36844 time
-
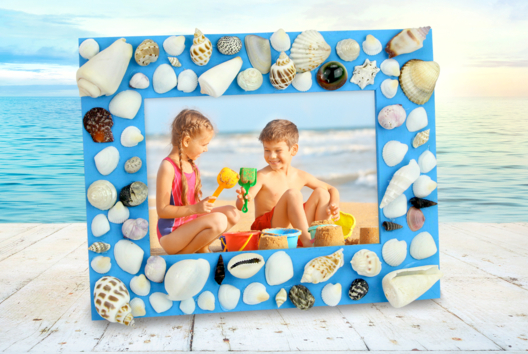
Holiday Frame with Shells
C14138View 23346 time -

Multicolored Octopus with a Cup
C14136View 31917 time -
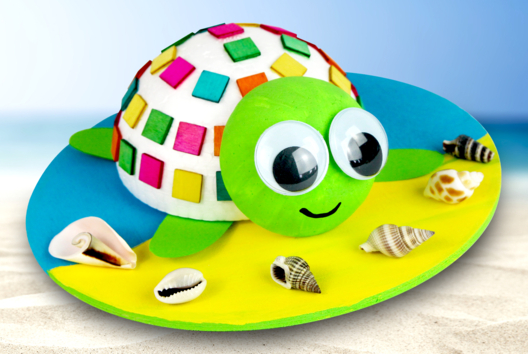
Turtle and Wooden Mosaics
C14117View 29052 time -
Rainbow Fish
C14017View 44572 time
Vos créations inspirées par ce tuto
Customer review
Give your feedback
Colored Fish Canvas
Be the first to share your review of this product.
Post a review