Your cart is empty.
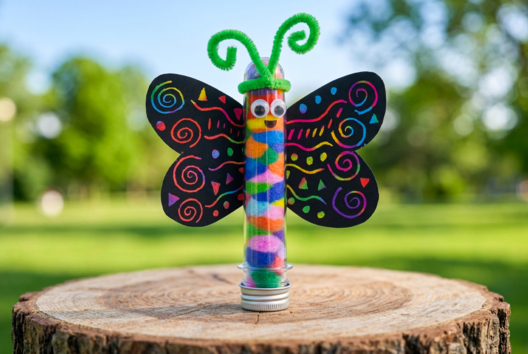
Colorful Sand-Filled Butterflies


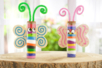

Colorful Sand-Filled Butterflies


Discover an easy and colorful activity to do with children to create one of their favorite insects: the butterfly!
In the first part of this activity, children will use sand to create pretty colored layers in a bottle.
This same sand will also be used to create beautiful 3D patterns on the butterfly's wings using a simple technique. In the end, children will leave this activity with an original and colorful butterfly that they will be proud to display in their room or at home.
An exciting creative activity to try as soon as possible!
How to complete this tutorial step by step?
Materials
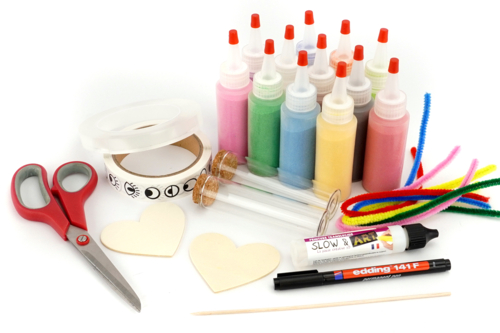
To make a butterfly, you will need:
- A glass vial with a cork
- 2 wooden hearts (7.5 cm)
- bottles of colored sand
- eye stickers
- a colorful caterpillar
- a 3D paint pen (translucent or white)
- a black marker
- a skewer
- a pair of scissors
- some nanotape
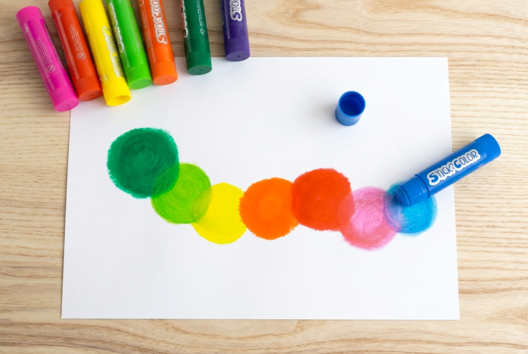
Step 1

Before starting the activity, cut the tips off the sand bottles to increase the flow and allow the sand to pour more easily into the vial.
Step 2
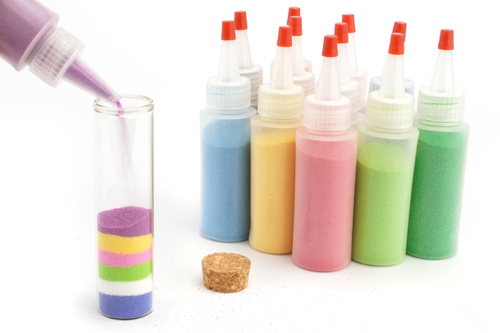
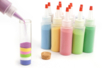
Fill the glass bottle with colored sand, alternating the colors to create beautiful colored layers.
Fill the bottle to about 8 mm from the top.
Step 3
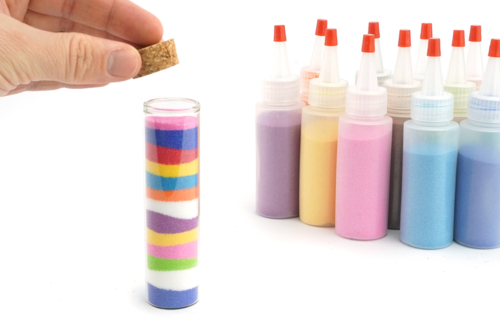
Seal the bottle with the cork to fix the sand.
Note: with our 12 sand bottles, you can create up to 12 butterflies.
Step 4
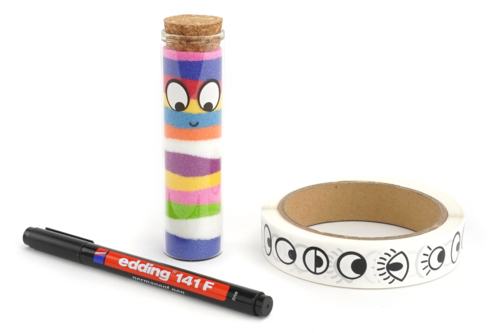
Glue 2 eye stickers on top of the bottle then draw a small smile with a black permanent marker.
Step 5
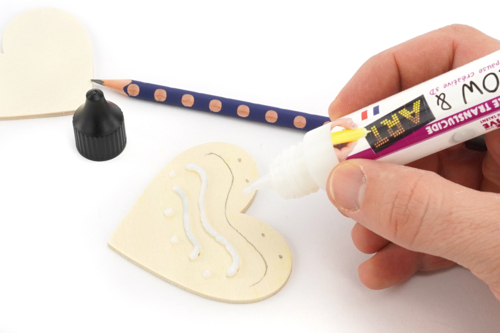
To create the butterfly wings, we will use 2 wooden hearts.
Draw patterns on a wooden heart with a pencil, then apply translucent 3D paint along the design.
Important: leave a 2 cm undecorated area starting from the tip of the heart.
Step 6
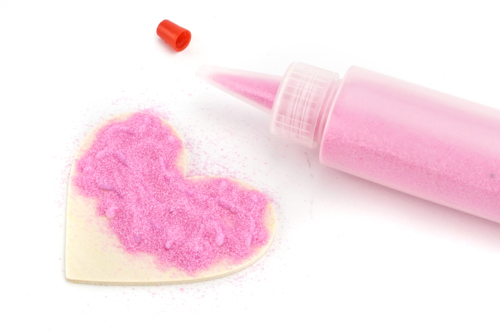
Pour colored sand onto the 3D paint patterns.
The paint will act as a glue here, allowing the sand to adhere to the drawn patterns.
Step 7
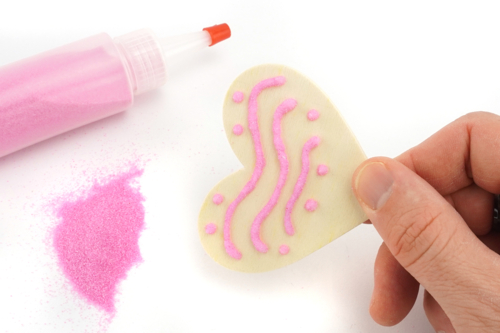
Shake the wooden heart to remove the excess colored sand.
Tip: Place a sheet or tray under the wooden heart to catch the sand!
Step 8
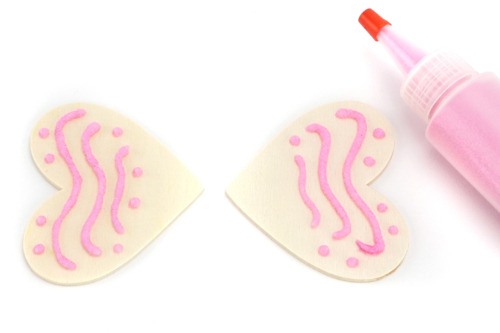
Replicate the last 2 steps on the second wooden heart and then let it dry for a few hours.
Step 9
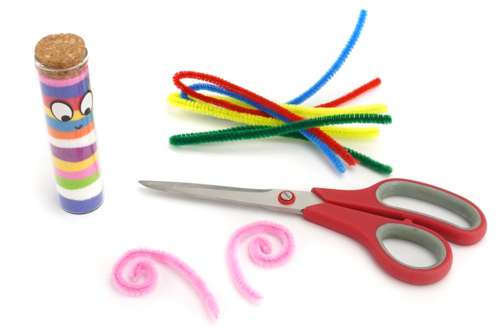
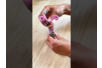
Cut a colorful caterpillar into 2 pieces and then twist the ends to create the butterfly's antennae.
Step 10
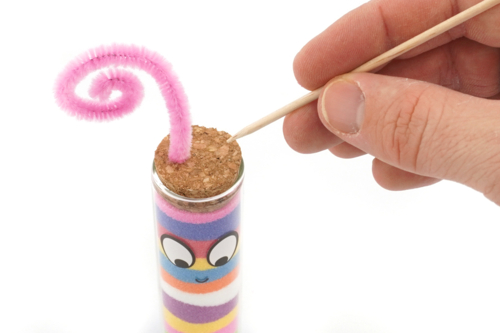
Make 2 small holes in the cork stopper using a skewer (toothpick, compass point...) and then insert the caterpillars into the stopper.
Step 11
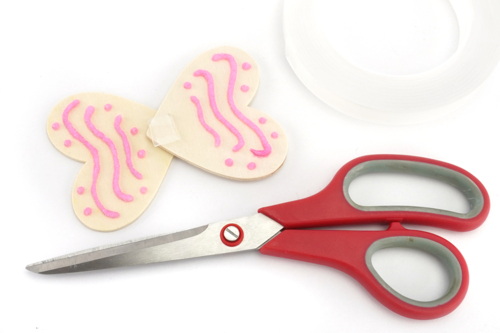
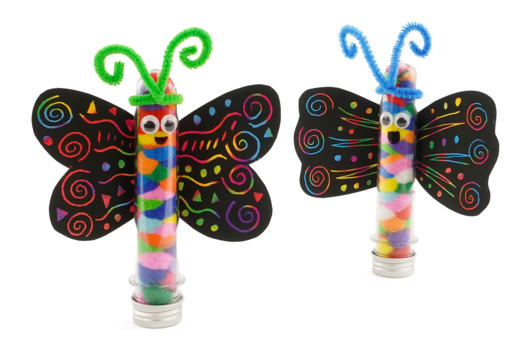
Once the paint is dry, stick the 2 hearts together as shown in the photo using a small piece of nanotape.
Place a second piece of nanotape between the 2 hearts.
Note: the nanotape is a strong and thick adhesive, ideal for effectively sticking small objects!
Step 12
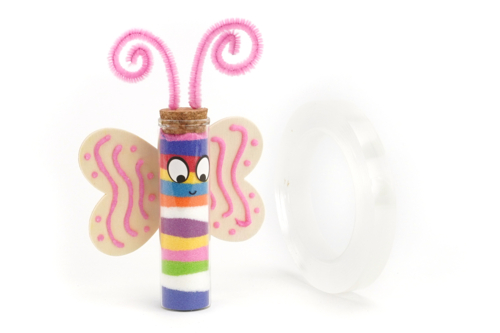
Attach the butterfly wings to the glass vial using the nano tape.
The products used:
The products used:

Bottles with Cork Stopper - 6 Pieces
Réf. 54728 - See the full range
4,74€ (either 0,79 € / pc)
Available

1,90€
Available from August 2026

15,48€ (either 1,29 € / pc)
Available from 22/06/2026


Other tutorials on the theme "Animal Tutorials"
-
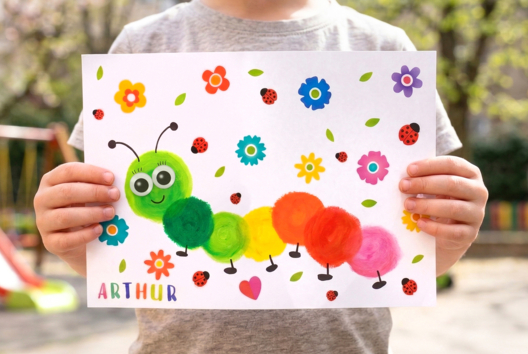
Drawing a caterpillar with toddlers
C11221View 15407 time


-
Scratch Card Butterfly
C11193View 9557 time

-
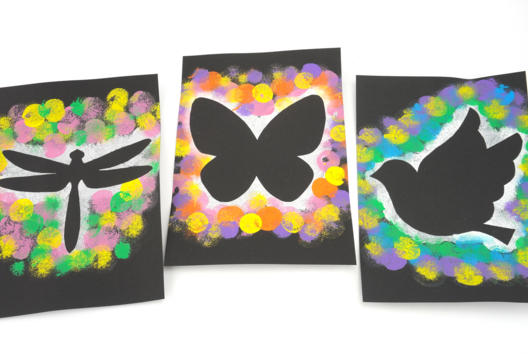
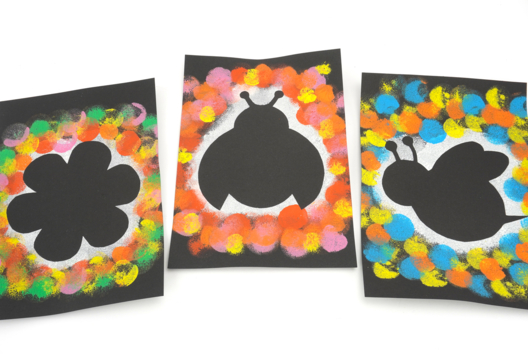
Spring Silhouettes with Paint
C8299View 82764 time

-
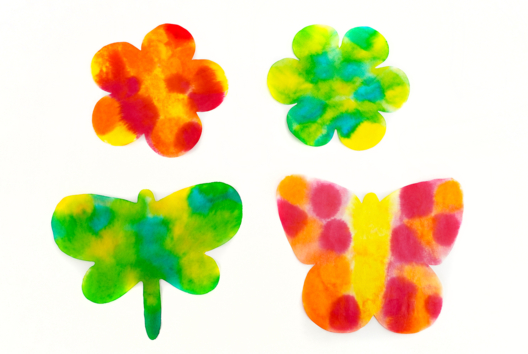
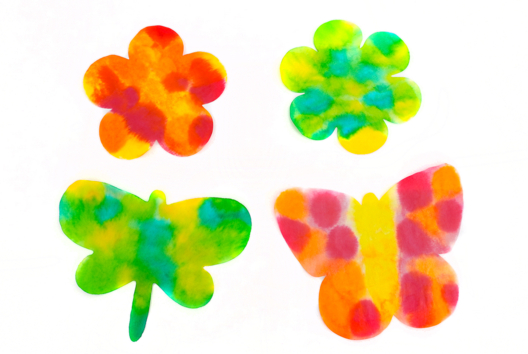
Flowers and Butterflies with Ink
C8782View 13024 time
-
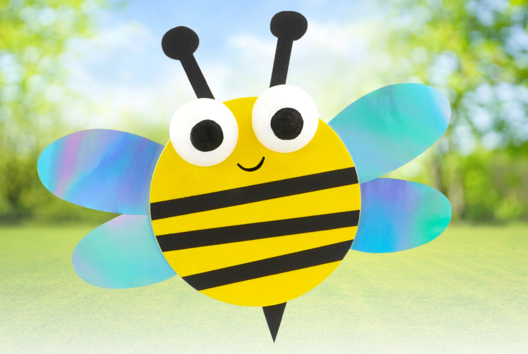
Mireille the little bee
C11137View 25593 time
-

Ladybug with a Paper Plate
C11042View 30273 time
-
Pine Cone Owl
C13716View 53950 time -
Bats with Cardboard Straws
C13688View 24292 time -
Easy Paper Bat to Make
C13687View 42464 time -

Snail Coloring and Collage
C13682View 42116 time
Customer review
Give your feedback
Colorful Sand-Filled Butterflies
Be the first to share your review of this product.
Post a review