Your cart is empty.
Decopatch Tissue Box
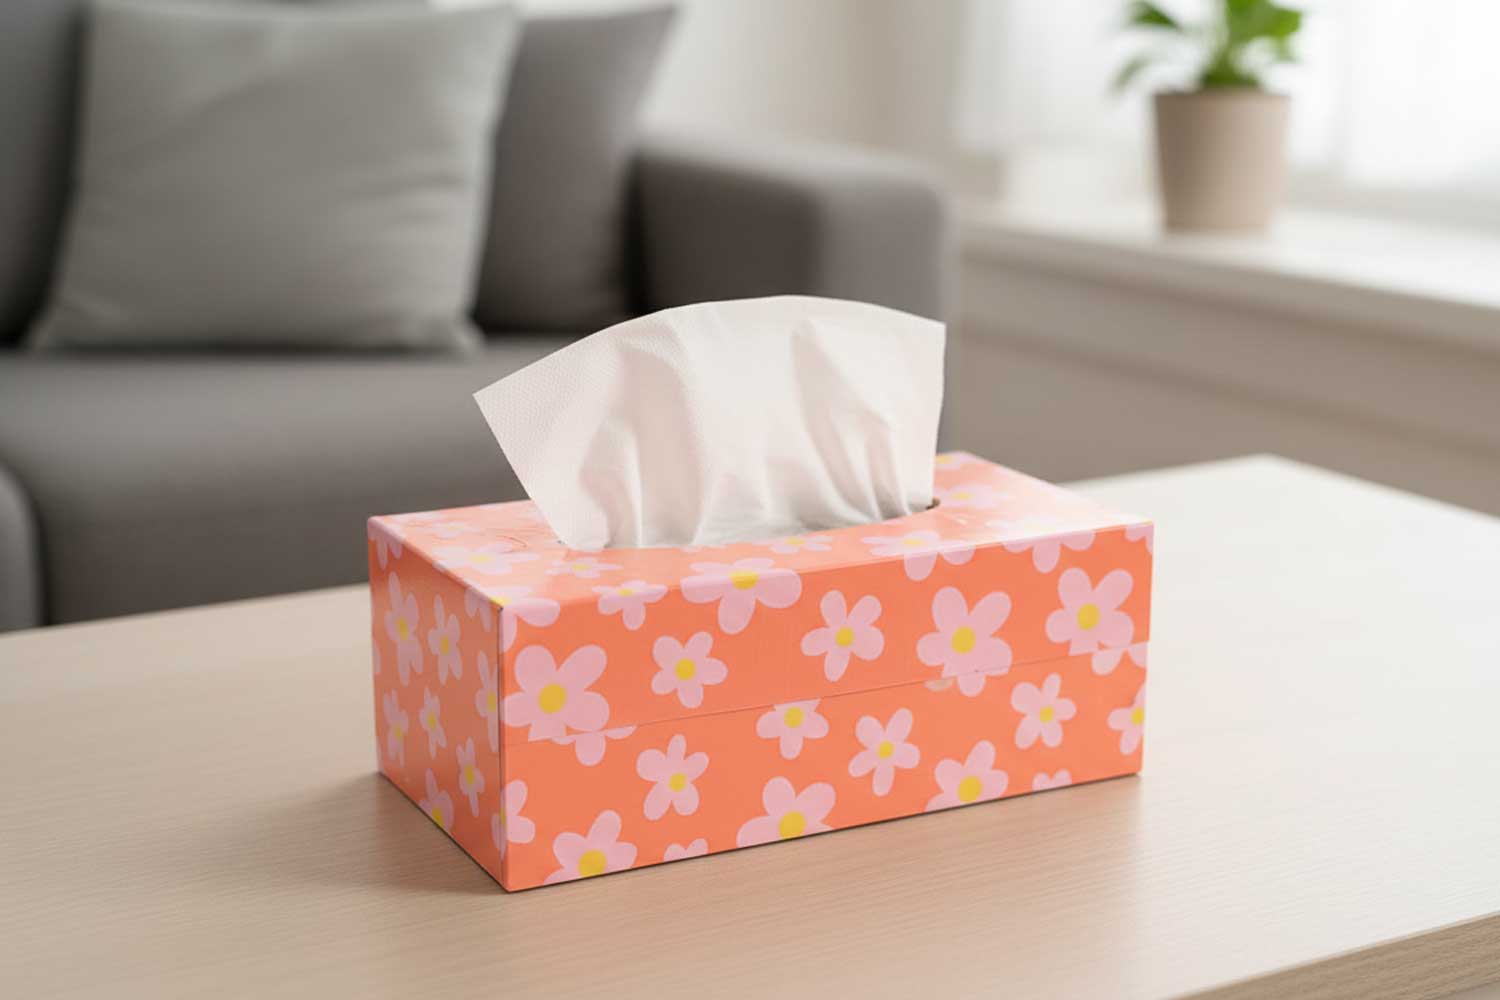
Decopatch Tissue Box


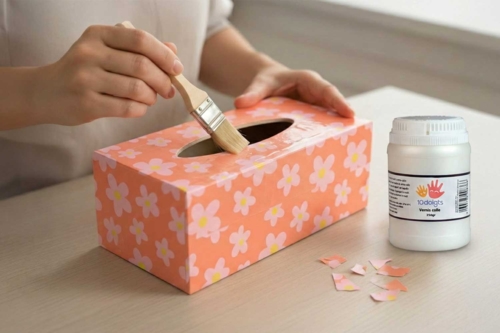
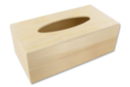
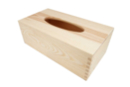
Looking for a unique decoration ? Learn how to transform a raw wooden tissue box with our tutorial on decoupage glue. This simple and fun technique makes customization accessible to everyone, in the style of decoupage.
Key takeaways : This guide details the method for adhering decorative paper to wood with a perfect finish. You will achieve an aesthetic and durable result with ease.
Discover the 4 steps that follow to master flawless gluing, without creases or bubbles. Gather your materials and creativity, it’s time to get started !
Thèmes de l'idéa créa :
#Varnish-Collage Tutorials
How to complete this tutorial step by step?
Step 1: Prepare and Gradually Glue
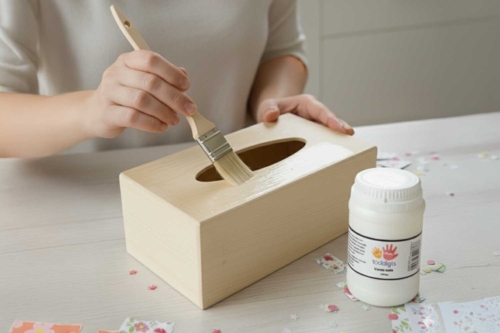
Apply a layer of glue varnish to a small part of the wooden box using a flat brush. It is important to work gradually, area by area, to avoid the glue drying before you have time to place the paper on top.
Step 2: Place the decorative paper
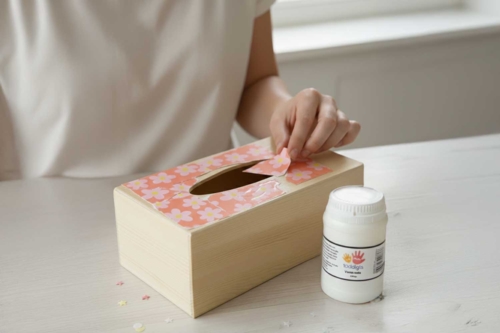
Gently place the patterned piece of paper on the freshly glued area.
Step 3: Smooth and Seal
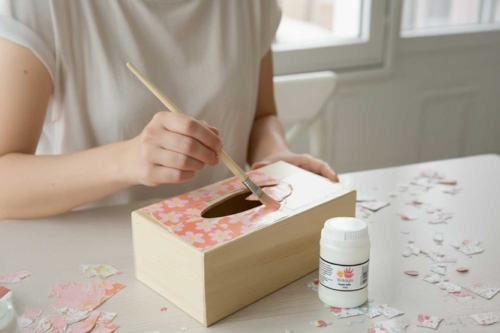
Immediately coat the paper with a new layer of glue varnish. Smooth from the center towards the edges to chase out air bubbles and thoroughly soak the paper.
Step 4: Finalize the object
Repeat the operation on the entire tissue box until completely covered, then let it dry.
The products used:
The products used:


Decopatch Mix - 4 sheets "happy flower"
Réf. 57041 - Product sheet
5,49€ (either 1,37 € / pc)
Available
Other tutorials on the theme "Varnish-Collage Tutorials"
-


Hanging Easter Eggs
C9243View 30137 time


-


Glass Paperweight Photo Collage
C11259View 16268 time

-
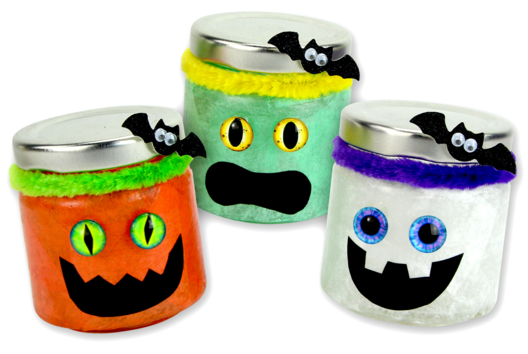
Halloween Monster Lanterns
C14190View 53057 time -
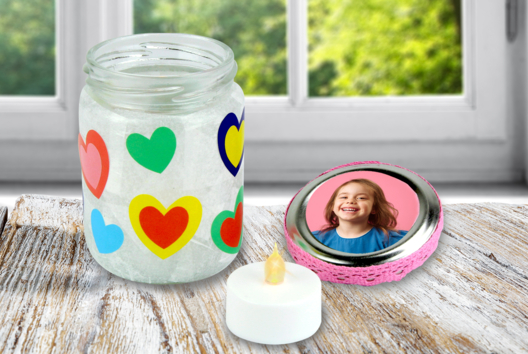
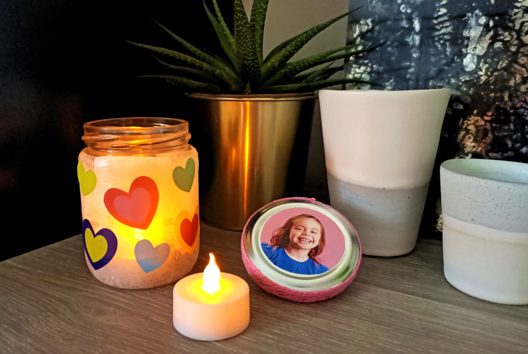
Colored Hearts Lantern
C14612View 39497 time

-
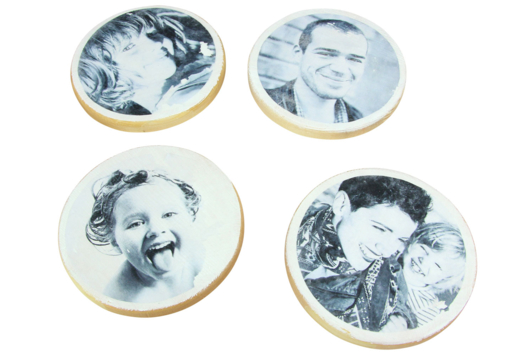
Image Transfer on Coasters
C11261View 20959 time -
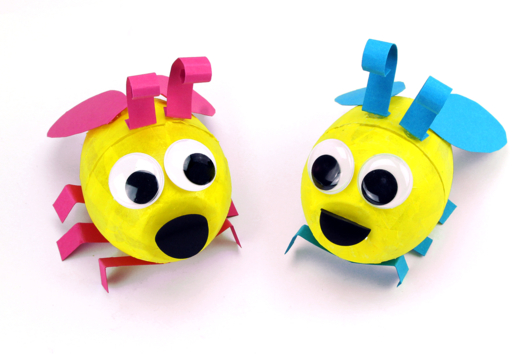
Fireflies with a Plastic Egg
C14743View 14677 time -
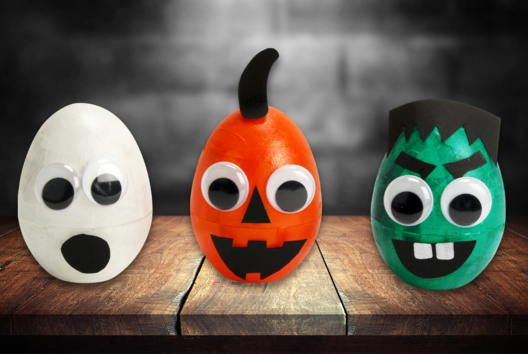
Glow-in-the-Dark Monsters
C13685View 19970 time -
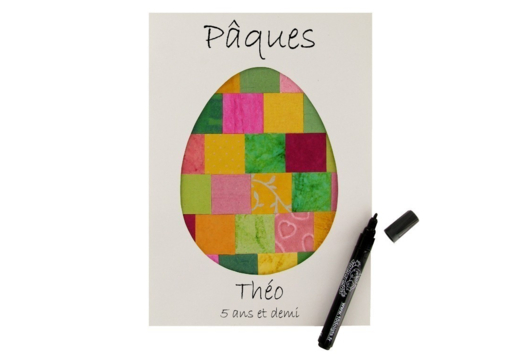
Easter Egg Collage
C11320View 26878 time -

Varnished Wooden Bracelet
C8417View 10414 time
Customer review
Give your feedback
Decopatch Tissue Box
Be the first to share your review of this product.
Post a review