Your cart is empty.
Easter Bag - Bunny


Easter Bag - Bunny


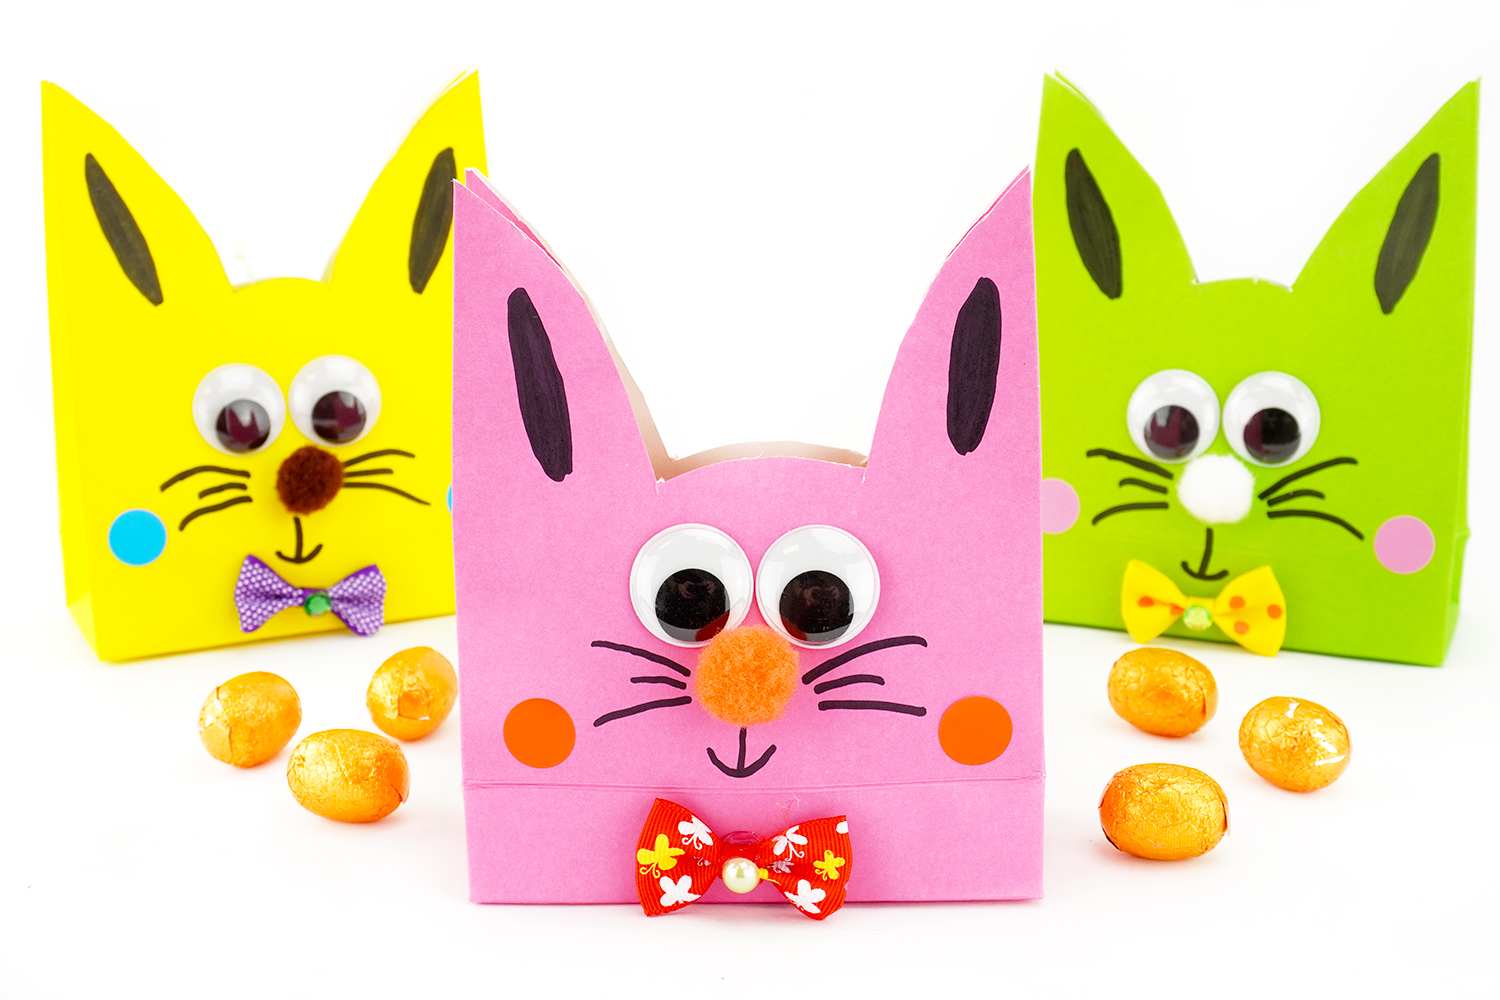
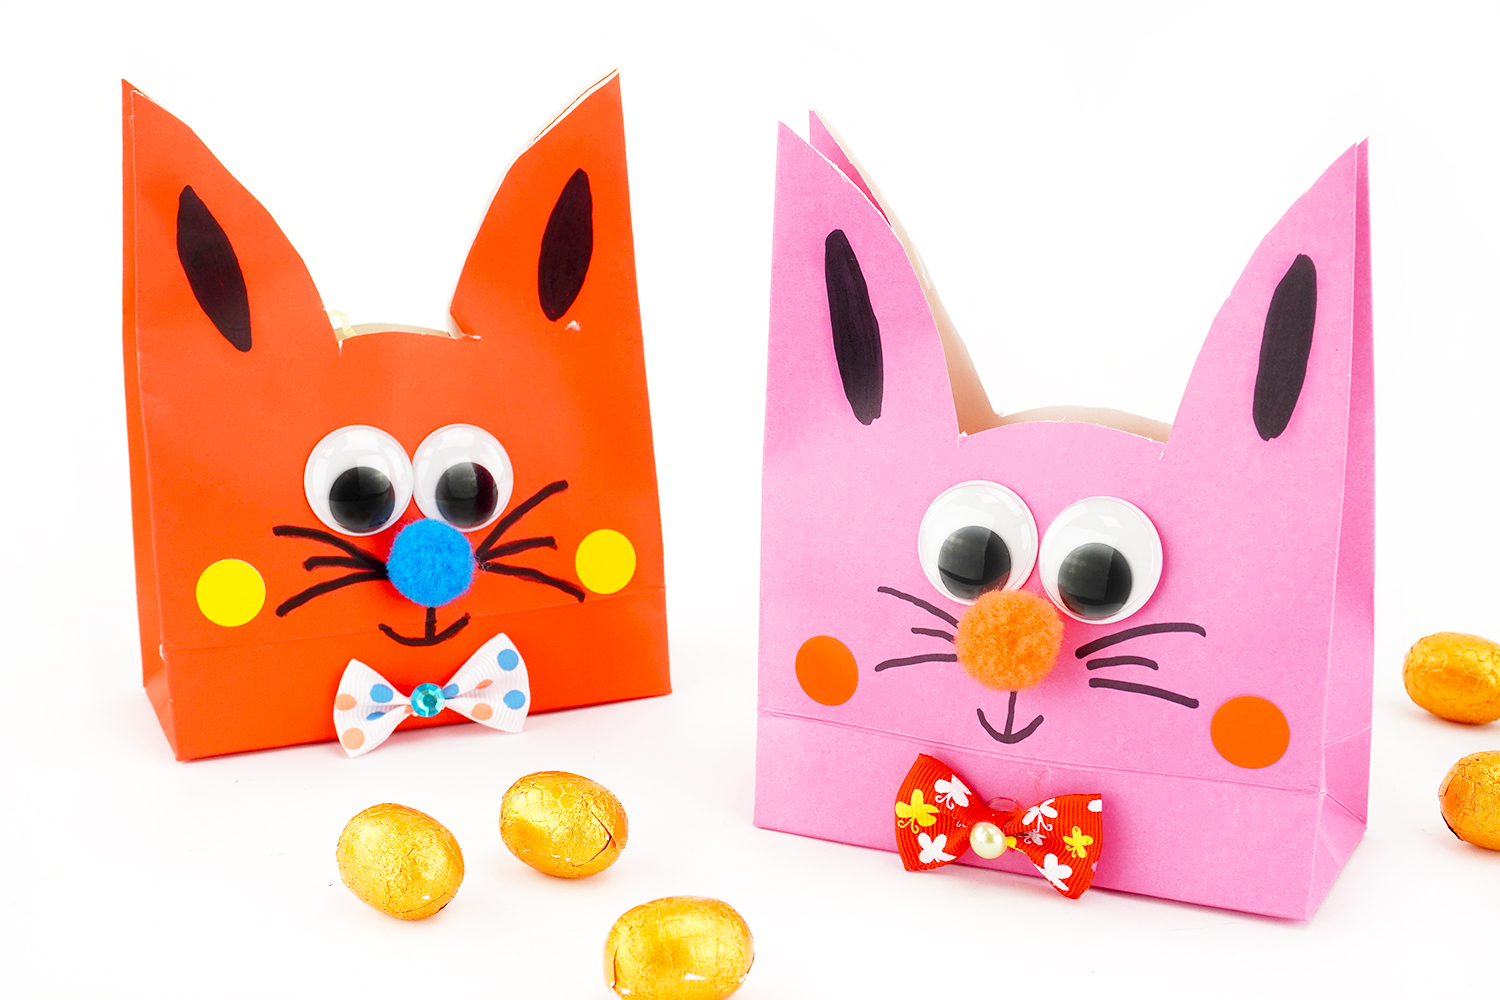
In this Easter activity, we will accessorize a paper bag to turn it into a cute little bunny!
Children will be delighted to create a little bunny bag filled with chocolates, and they can also reuse the bag to store other items. Another creative and fun activity that everyone will love!
Thèmes de l'idéa créa :
#Animal Tutorials
#Craft Tutorials
#Glue and Fold Tutorials
#Funny Characters Tutorials
#Easter Tutorials
How to complete this tutorial step by step?
Materials:
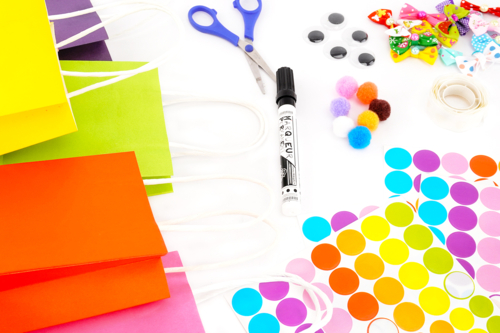
To make an Easter bag, you will need:
- a colored kraft paper bag
- 2 movable eyes Ø 2.5 cm
- a pom-pom
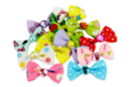
- a rhinestone bow tie
- round stickers
- a black marker
- adhesive dots
- a pair of scissors
Step 1:

To start, cut the 2 handles glued to the inside of the bag.
Step 2:
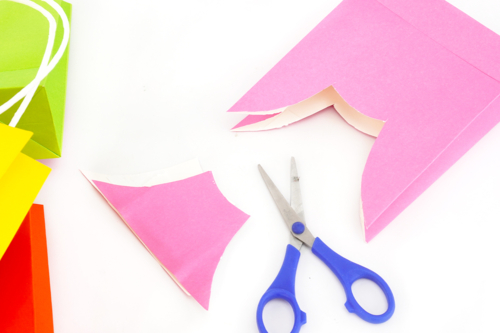
Then cut the top of the bag to form two bunny ears.
Step 3:
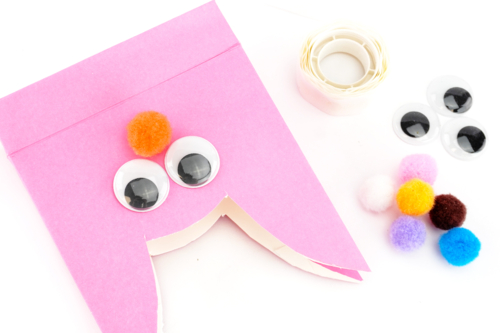
Stick 2 moving eyes Ø 2.5 cm and a colorful pompom using adhesive dots.
Step 4:
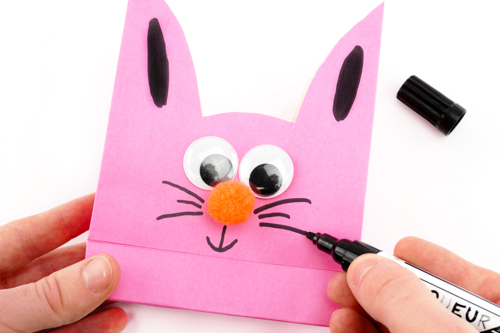
Using a black marker, draw the whiskers, mouth, and inside of the rabbit's ears.
Step 5:
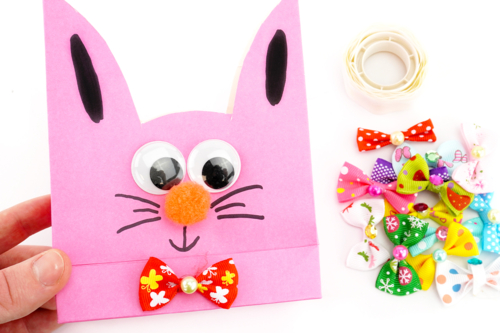
Stick a rhinestone bow tie with an adhesive dot.
Step 6:
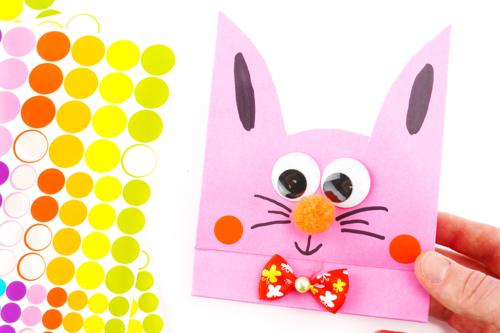
Glue two small round stickers to create cheeks.
Step 7:
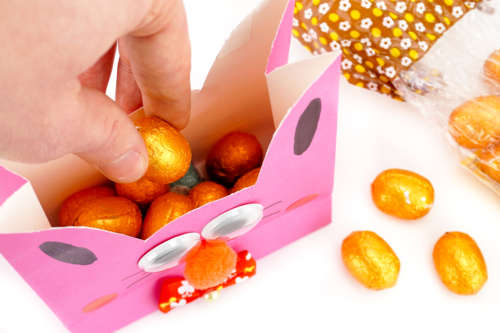
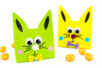
Hide Easter chocolates inside the bag!
Step 8:
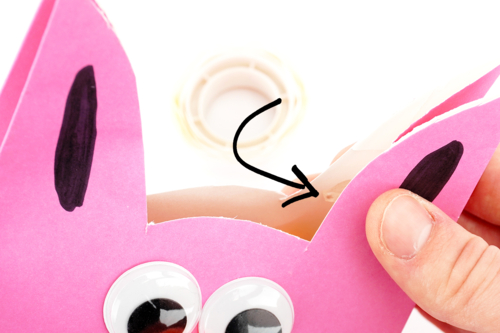
And finally, stick an adhesive dot inside each ear to close the bag.
The products used:
The products used:


1,99€
Available


2,29€
Available
Other tutorials on the theme "Easter Tutorials"
-

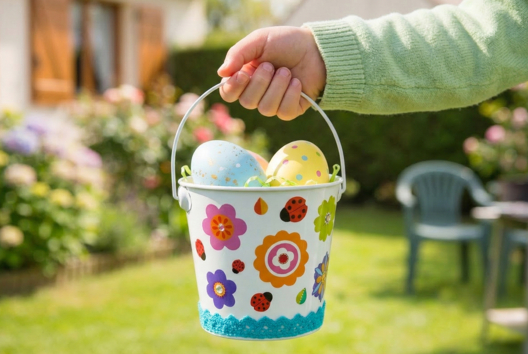
Bucket for collecting Easter eggs
C17732View 6239 time


-
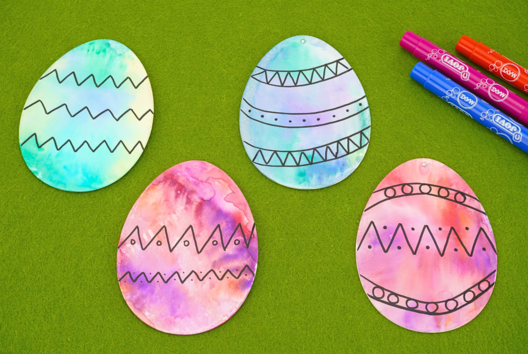

Watercolor Easter Eggs
C11103View 20842 time
-


Hanging Easter Eggs
C9243View 29880 time
-


Surprise Egg Filled with Chocolates
C8381View 15496 time
-

Chick Basket with a Paper Cup
C13964View 36271 time

-
Popsicle Chick
C11823View 38819 time
-

Carrot Garland
C11988View 95337 time -
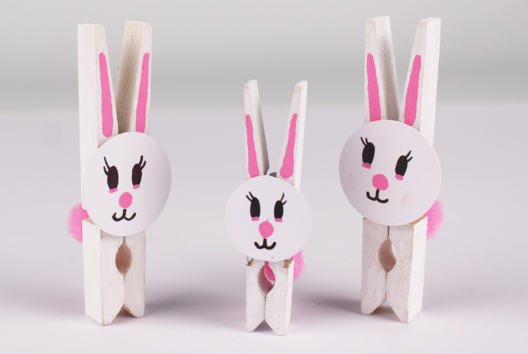
Clothespin Bunny
C11939View 45826 time -

Finger Puppets - Easter
C11825View 20908 time
-
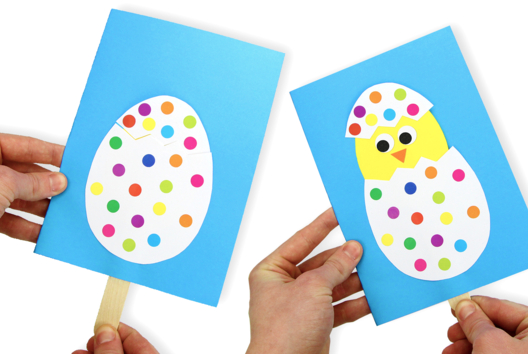
The chick hatches from its egg
C11822View 325982 time
Vos créations inspirées par ce tuto
Customer review
Give your feedback
Easter Bag - Bunny
Be the first to share your review of this product.
Post a review